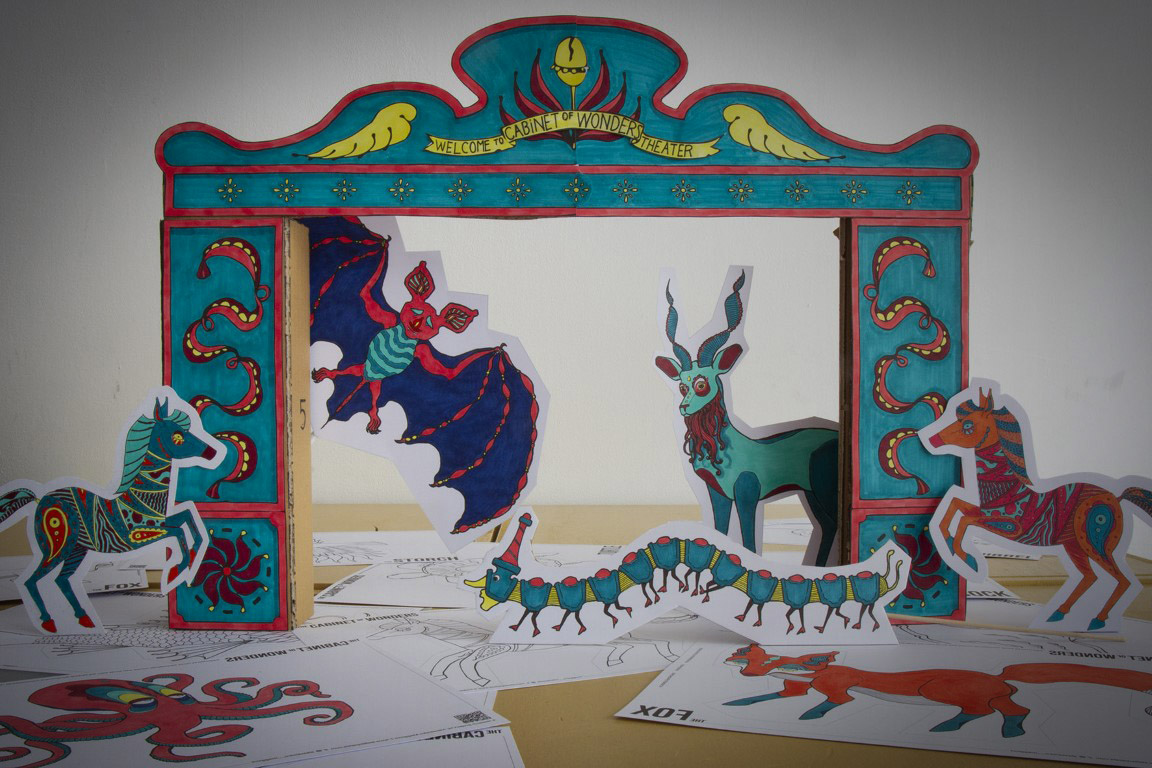
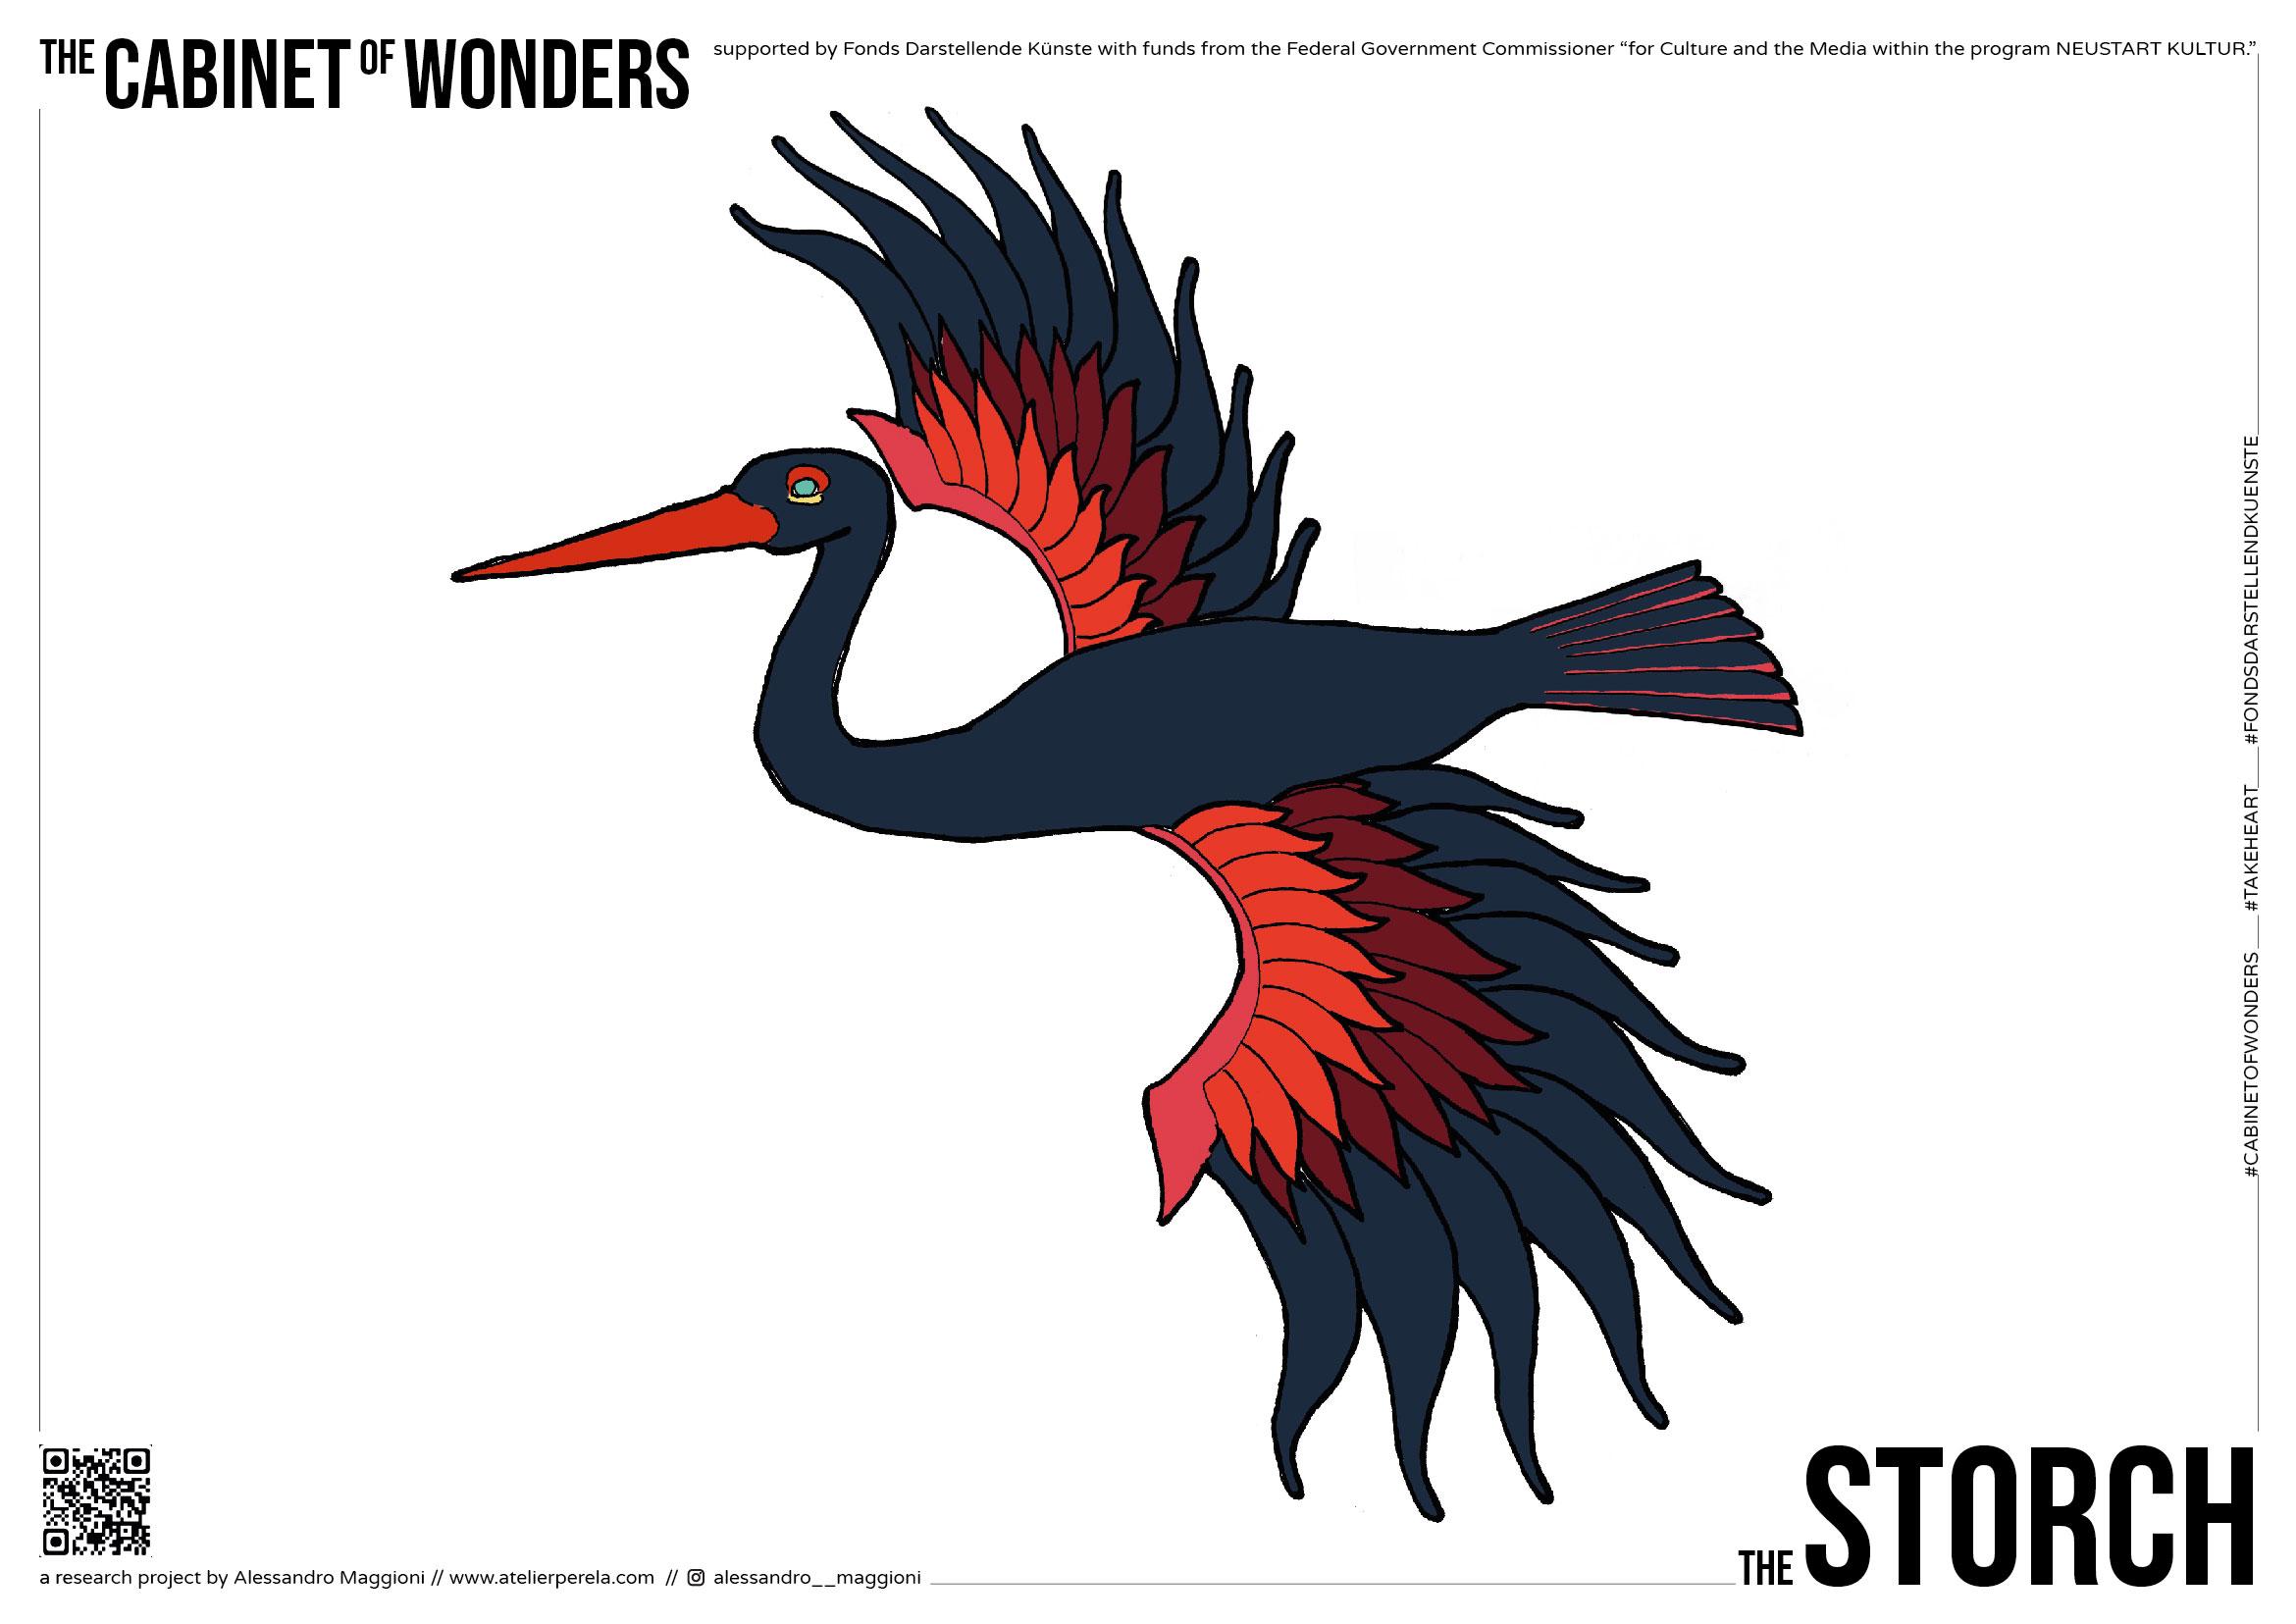
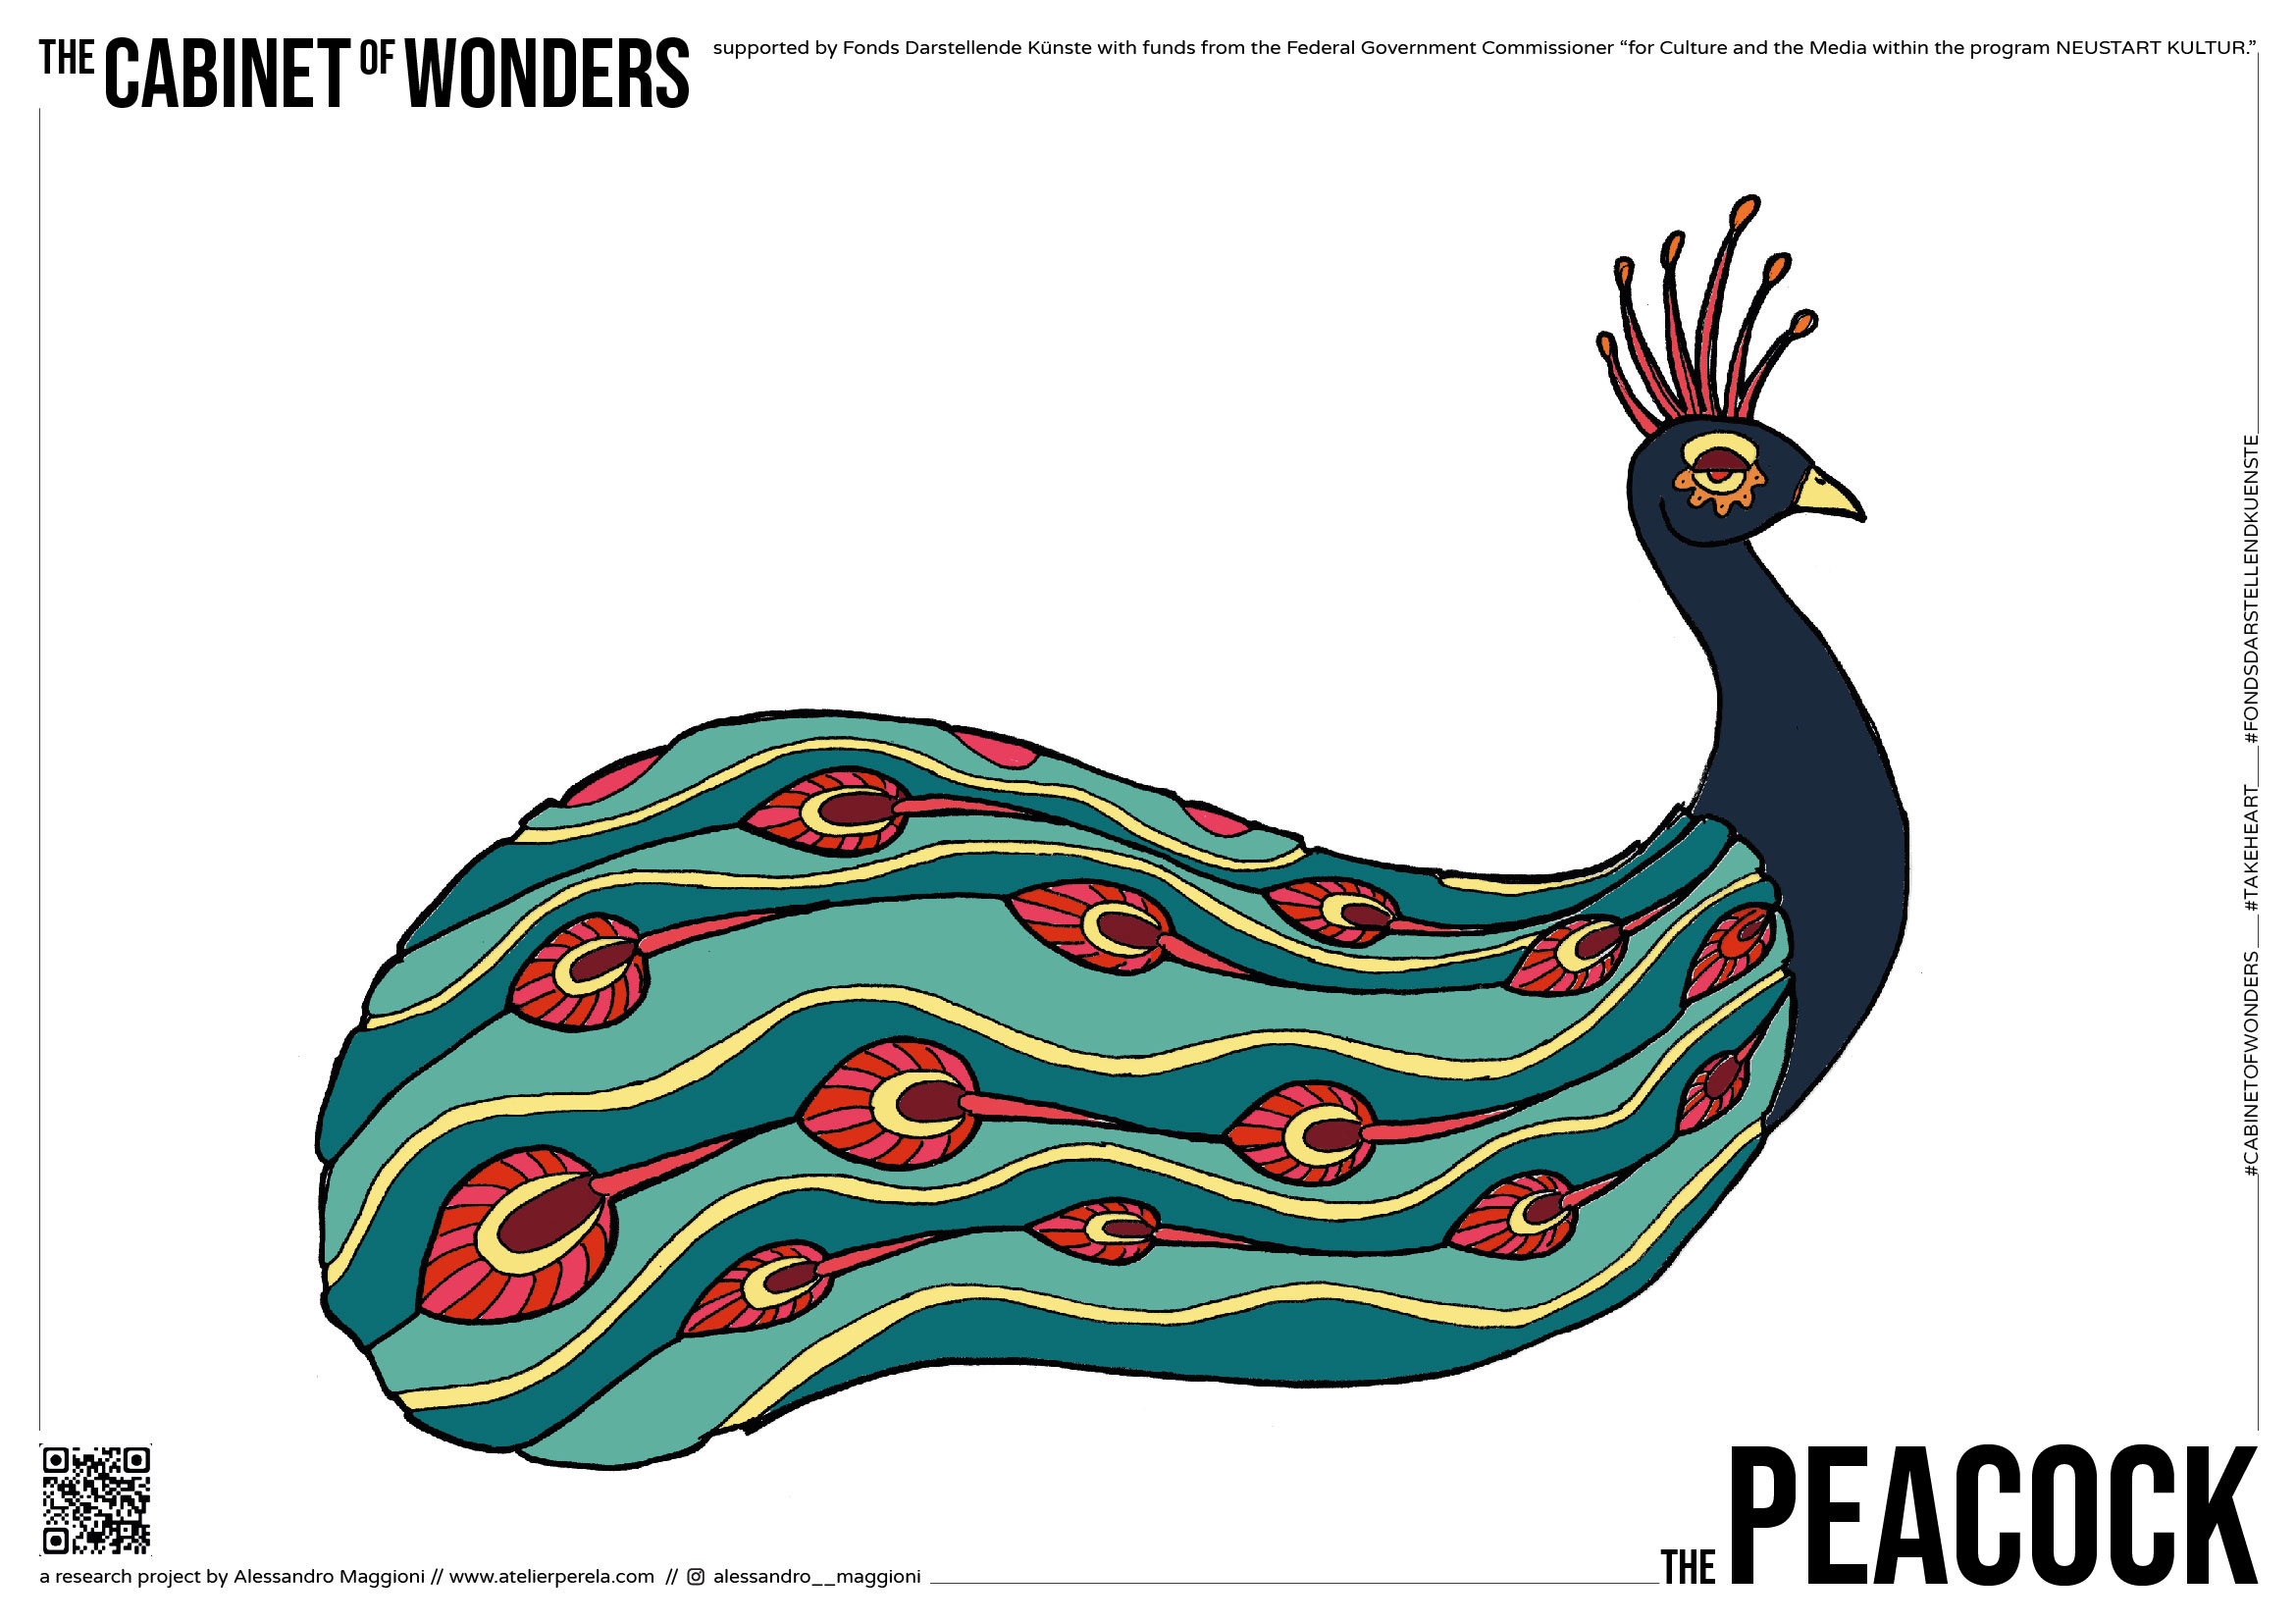
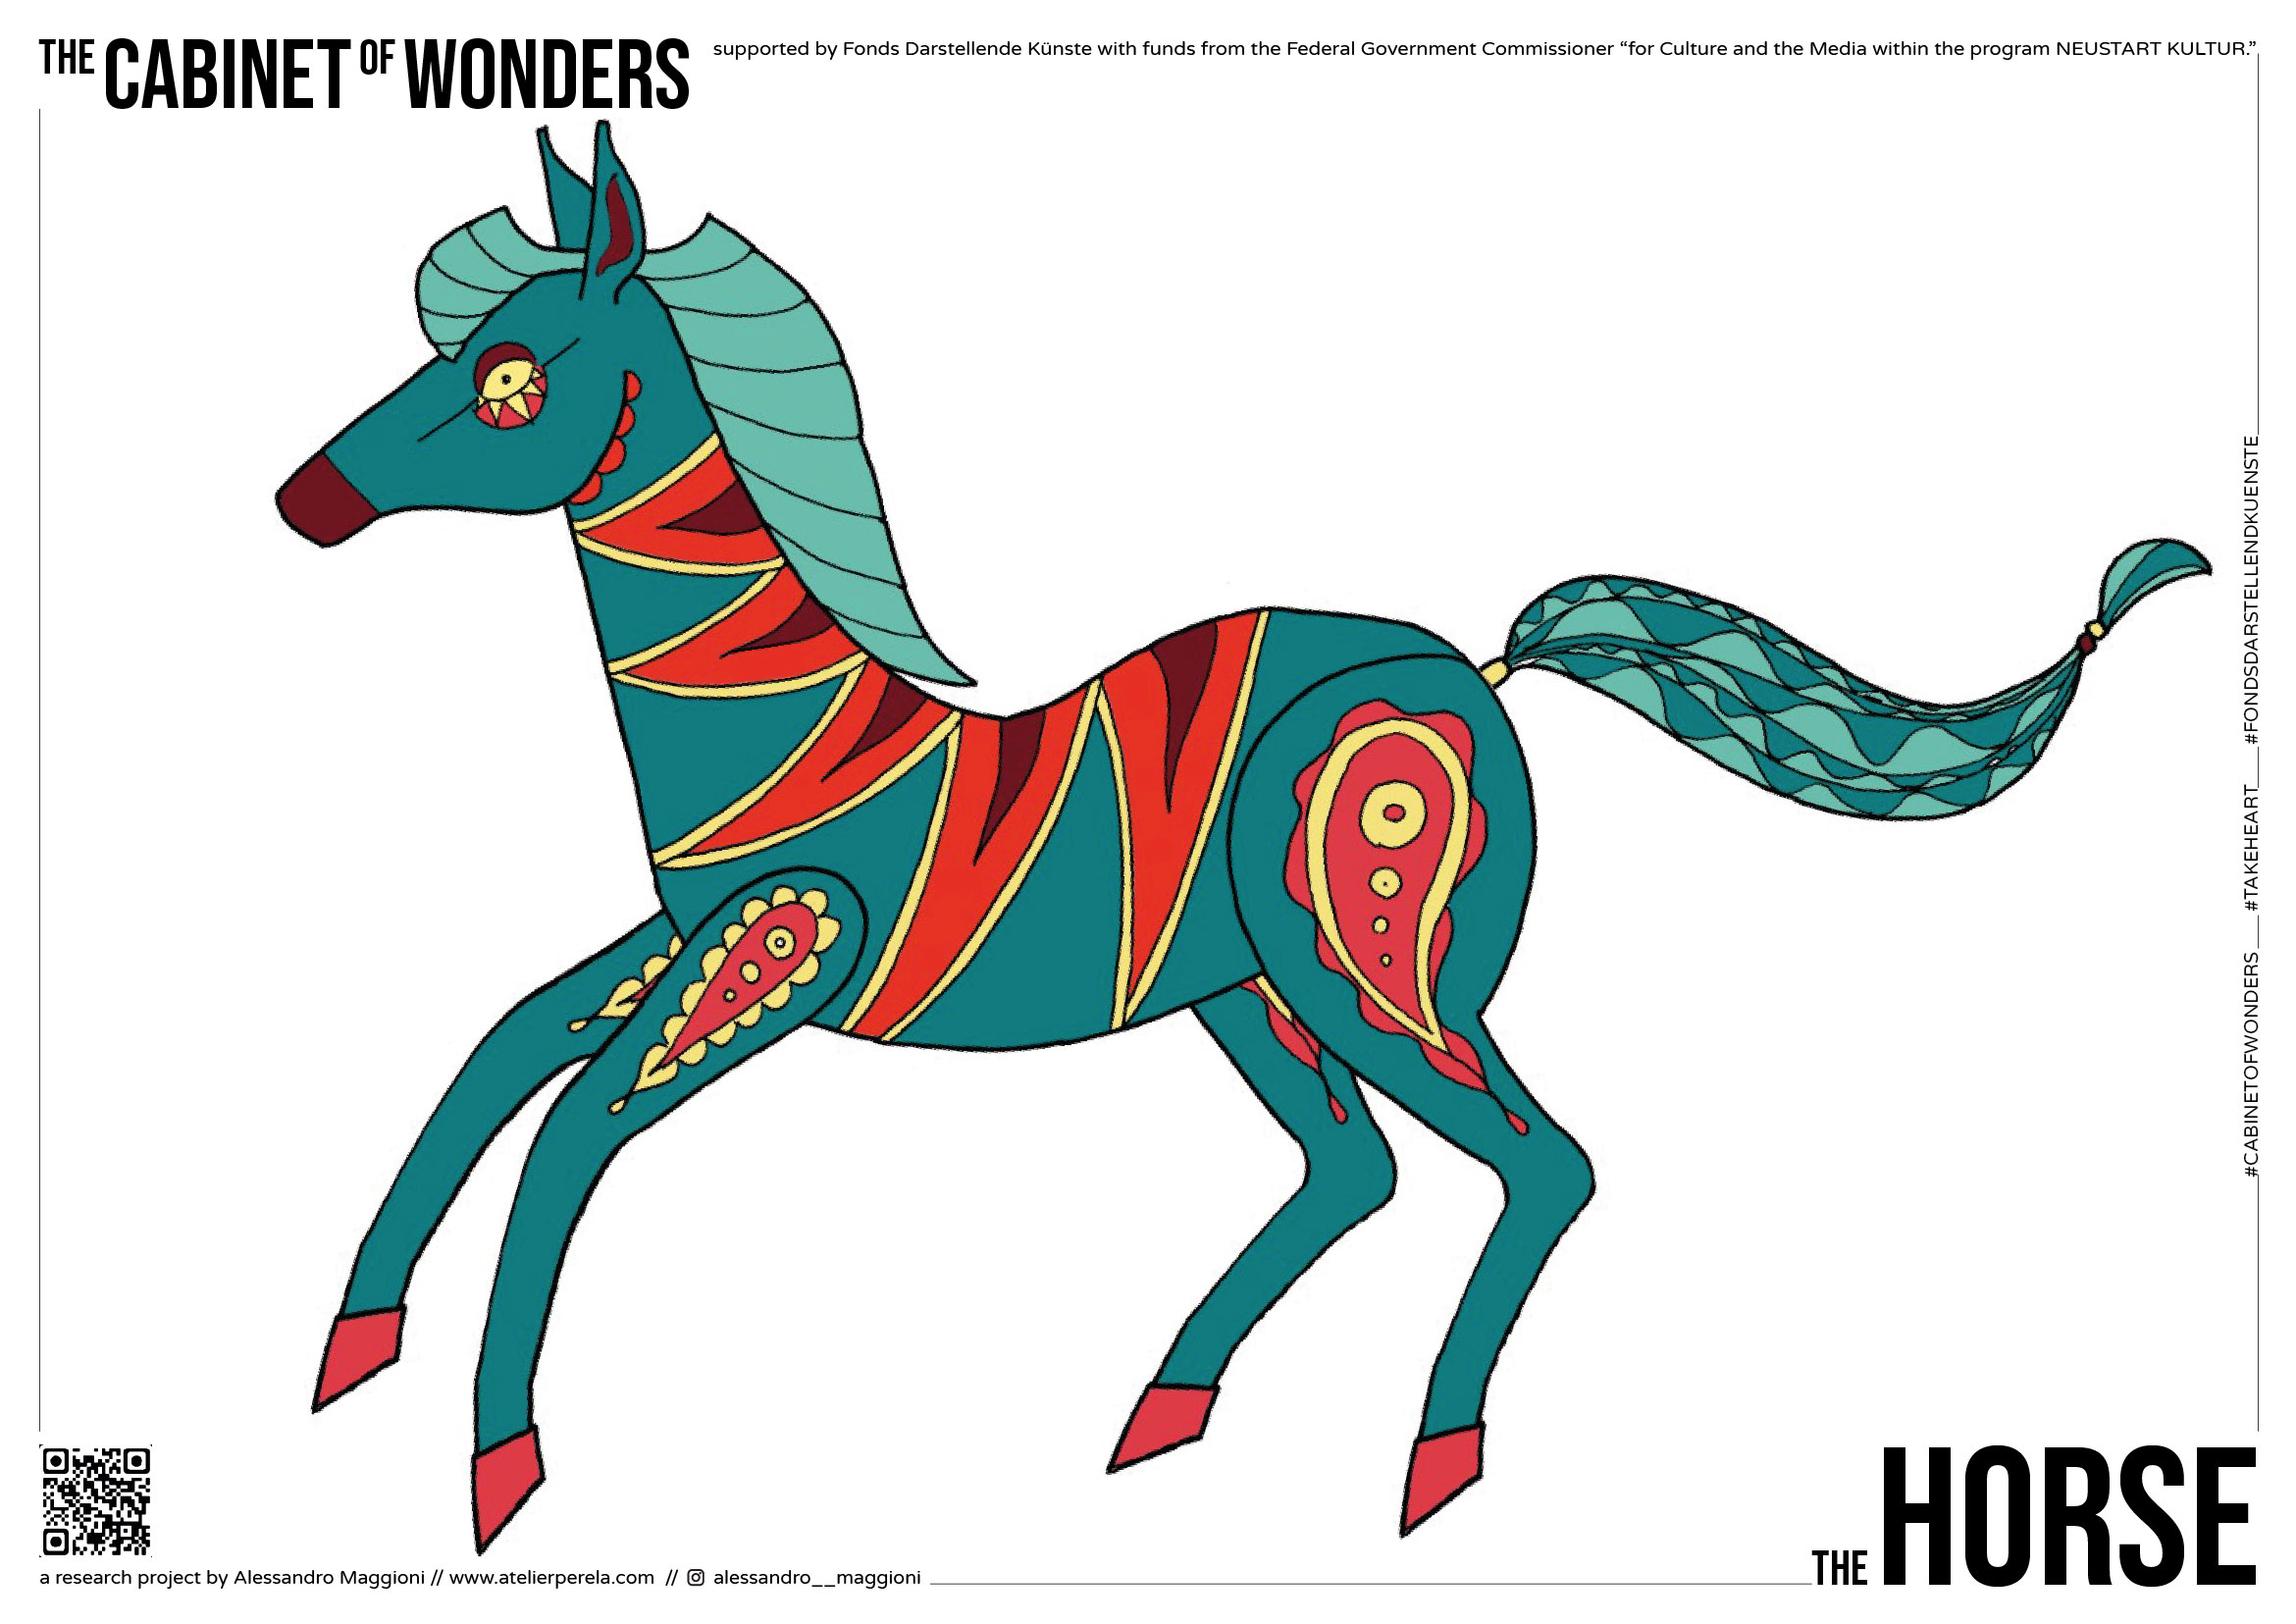
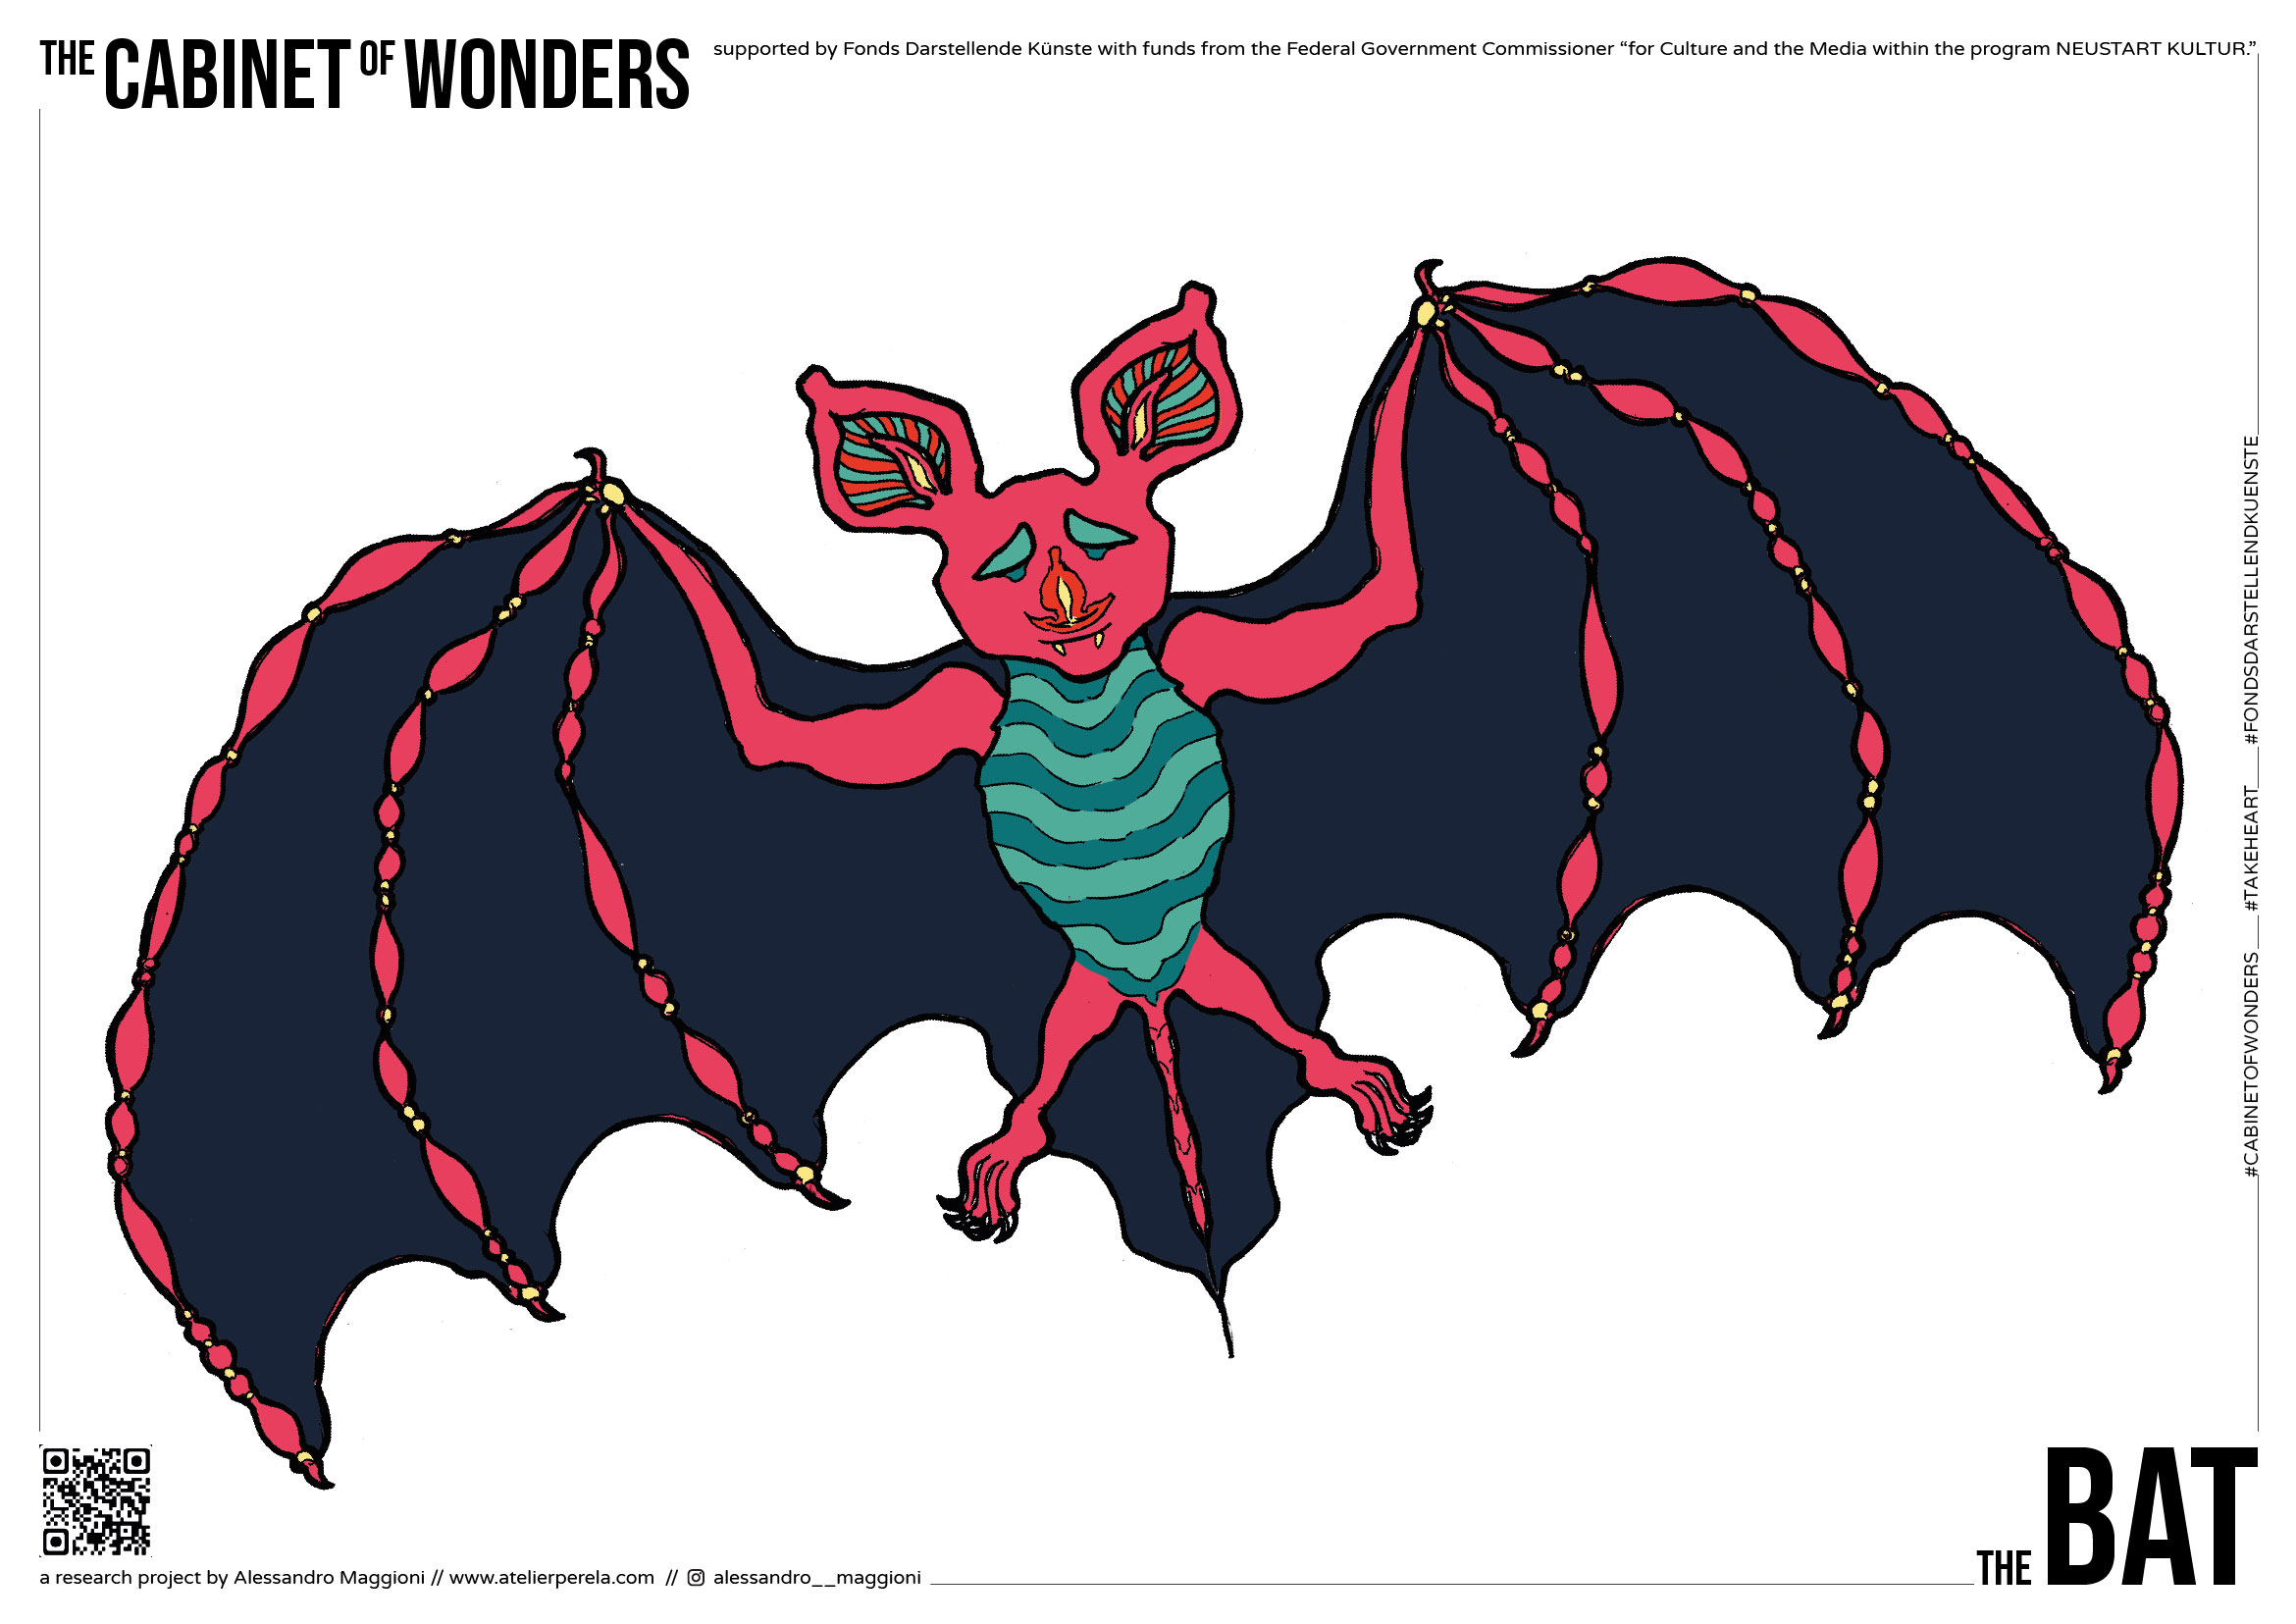
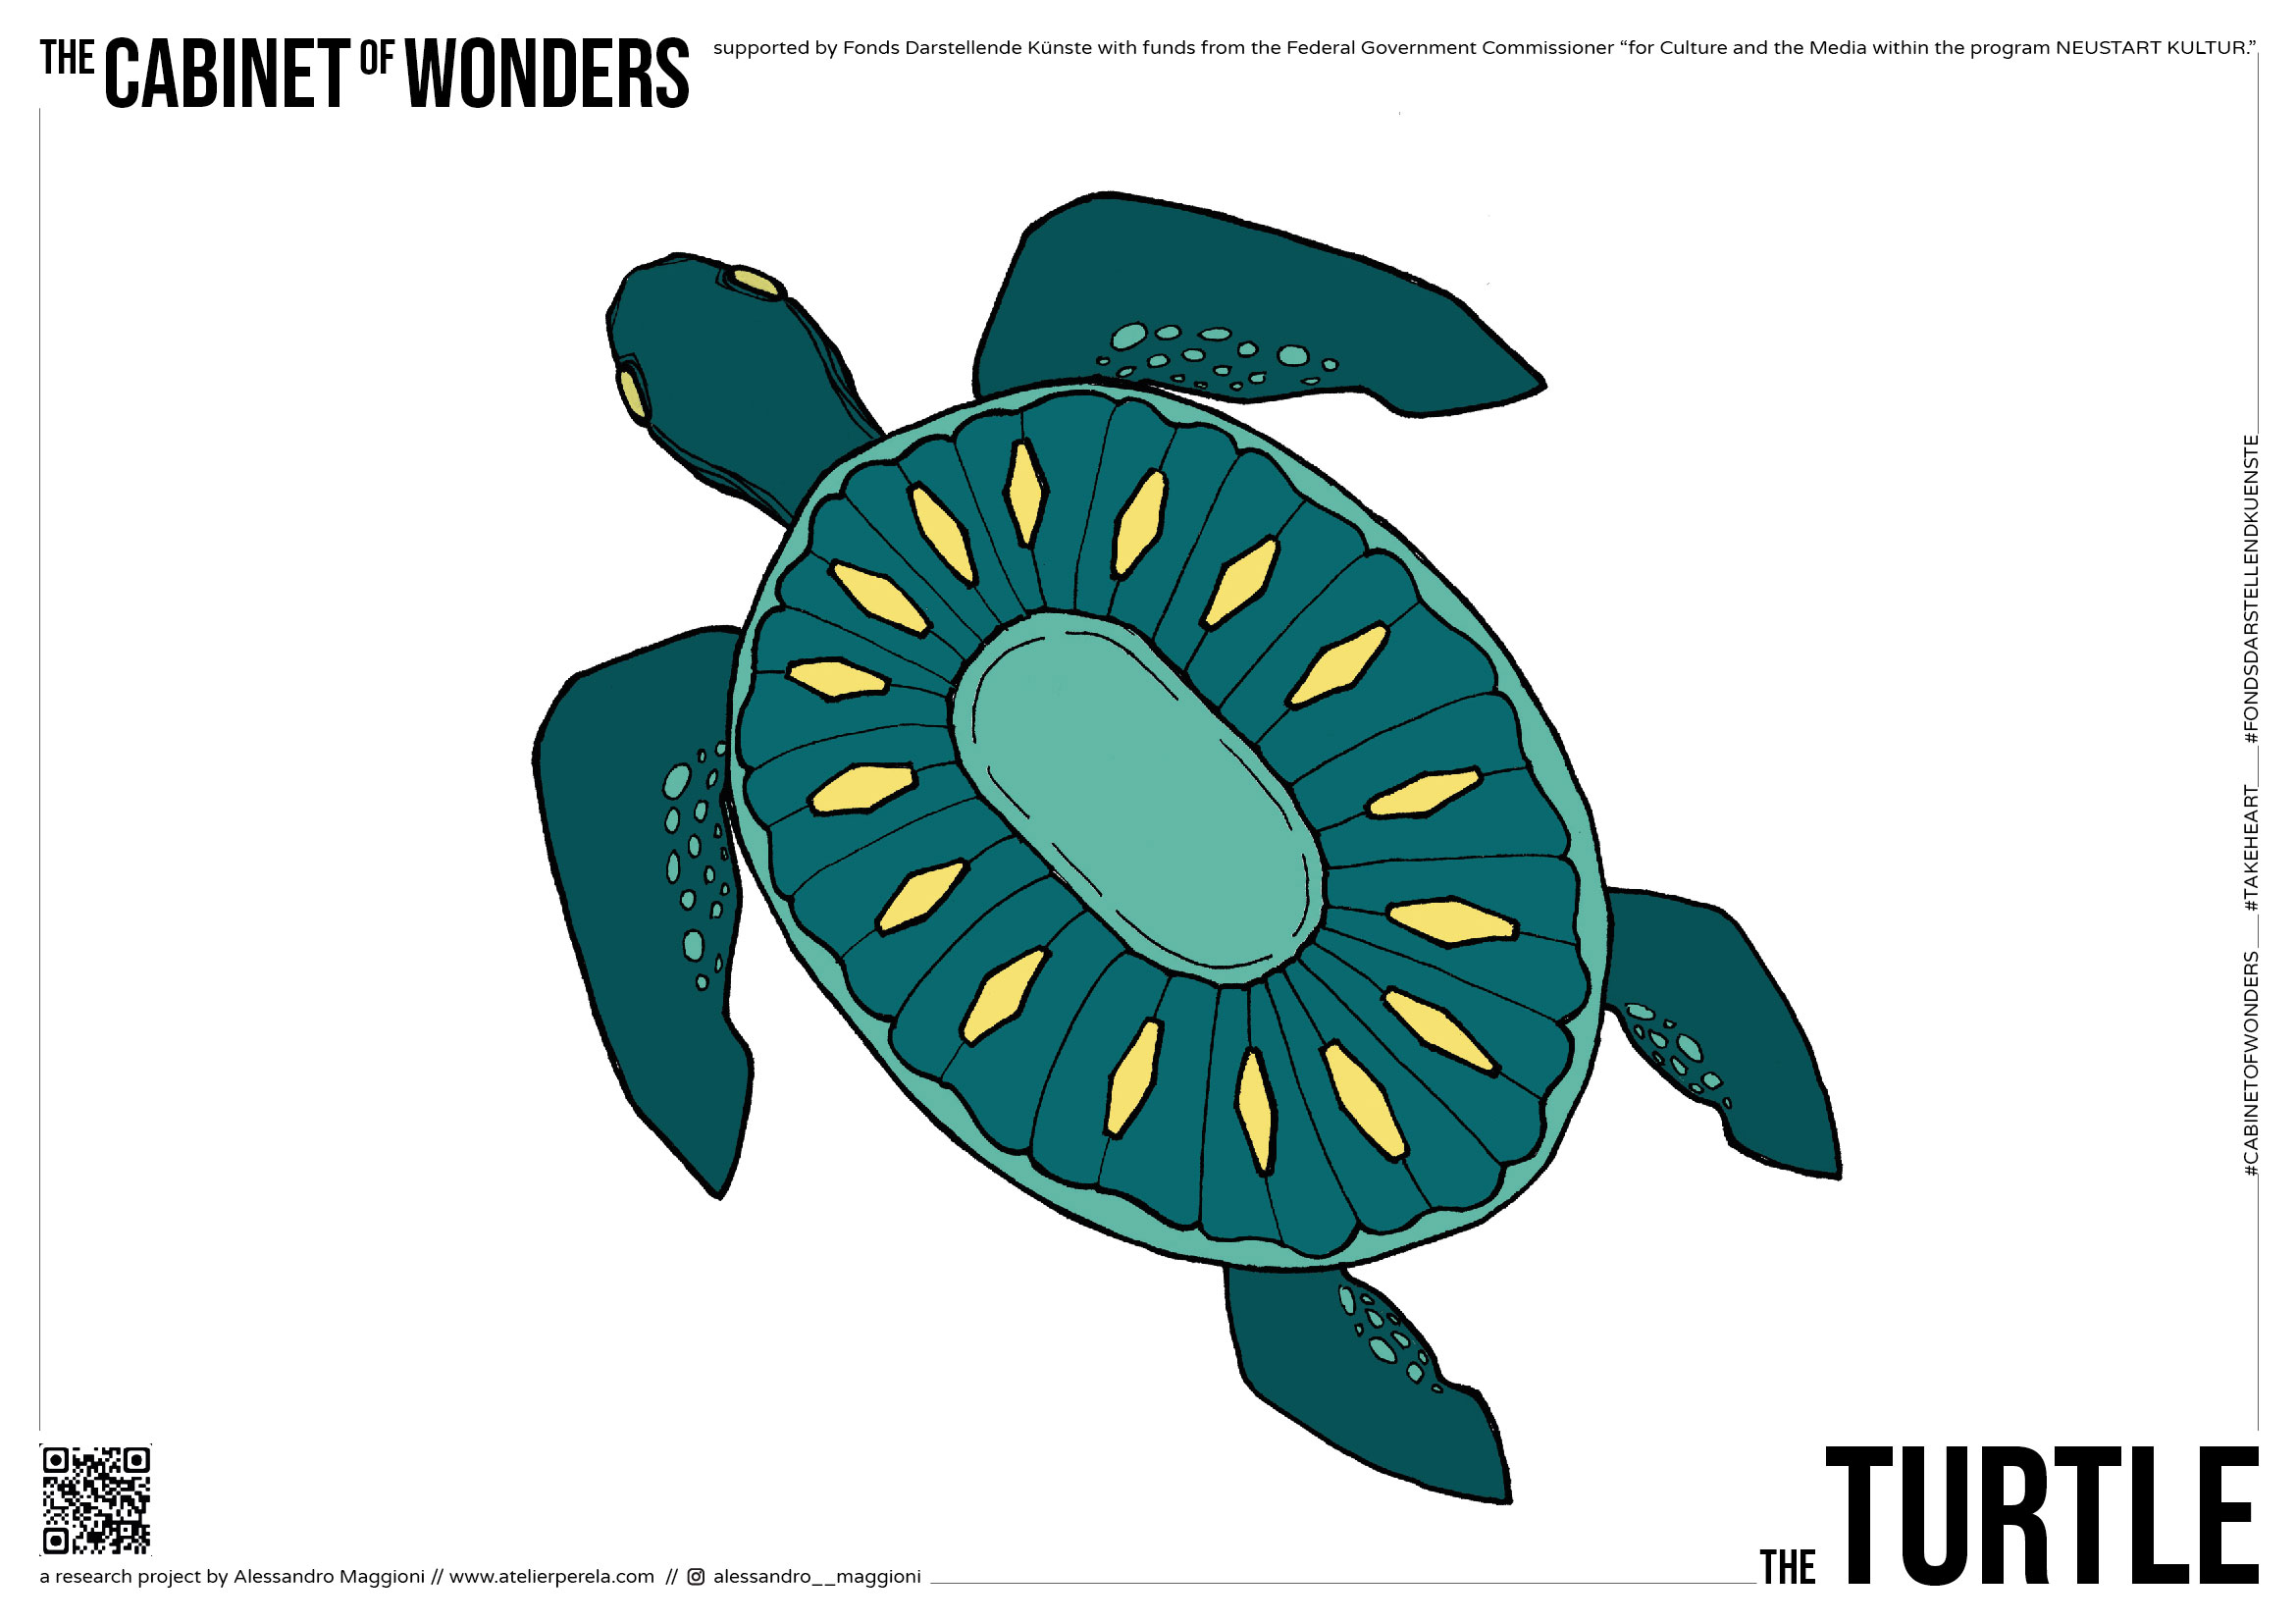
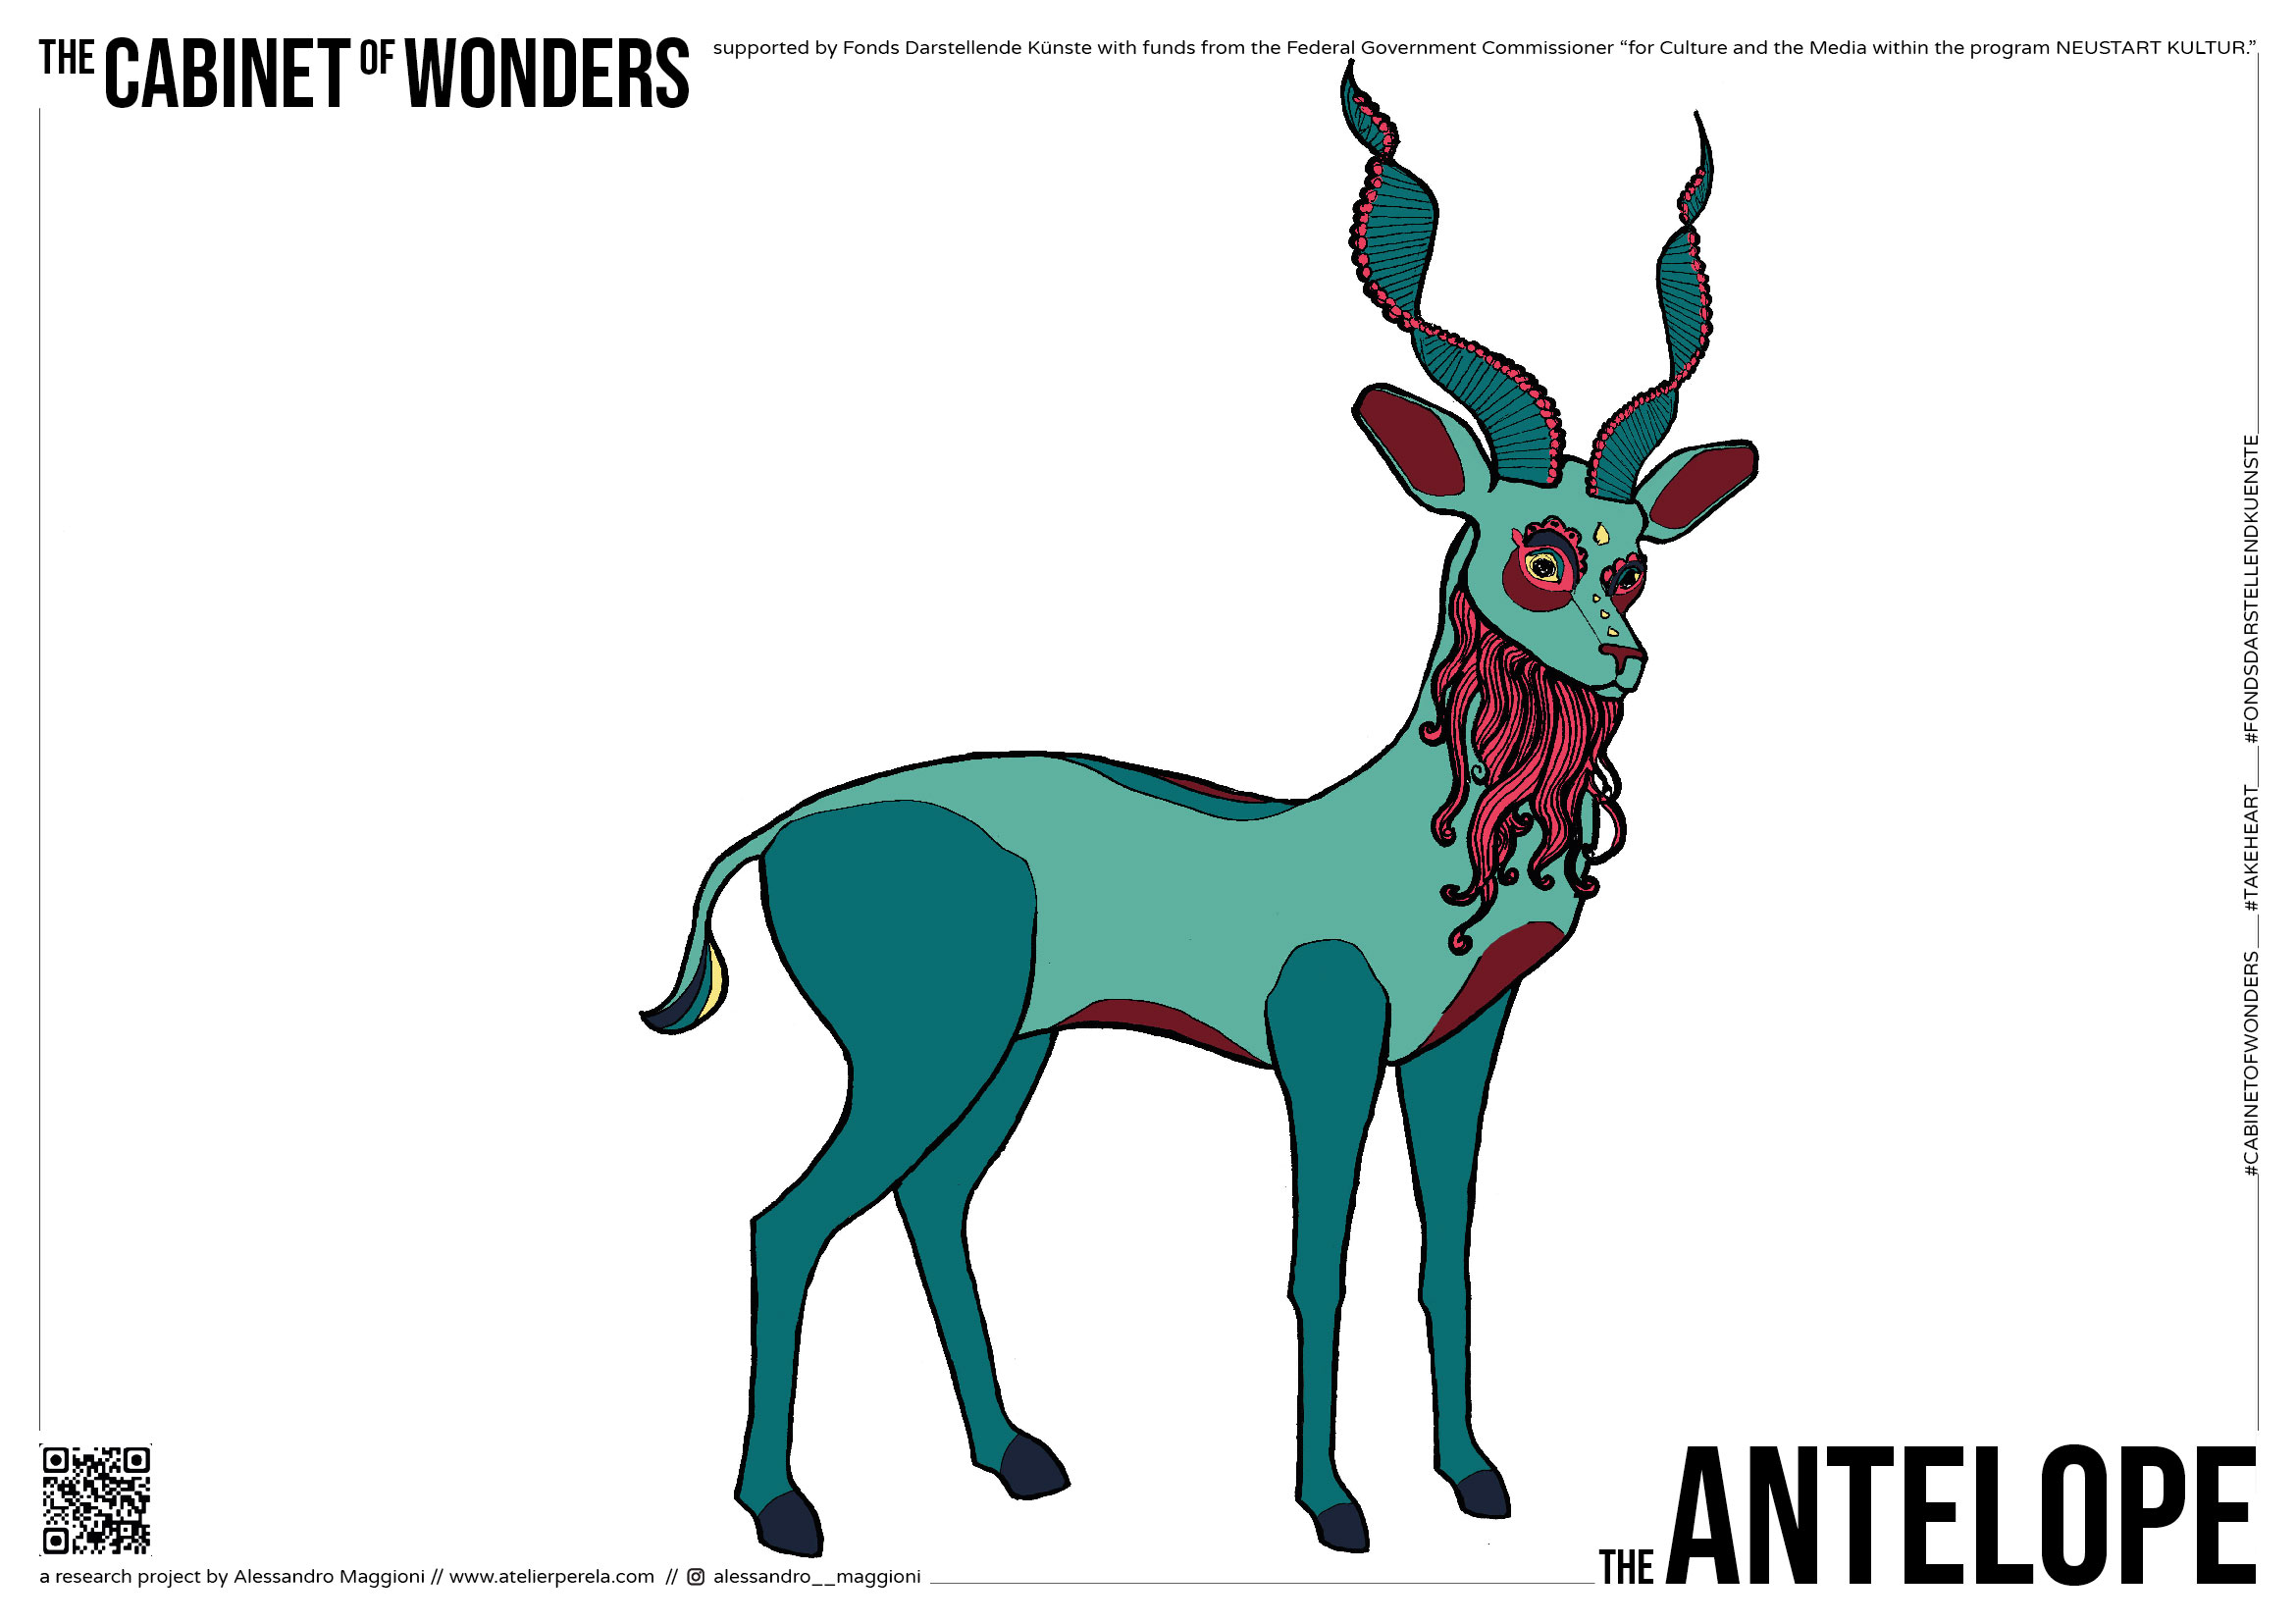
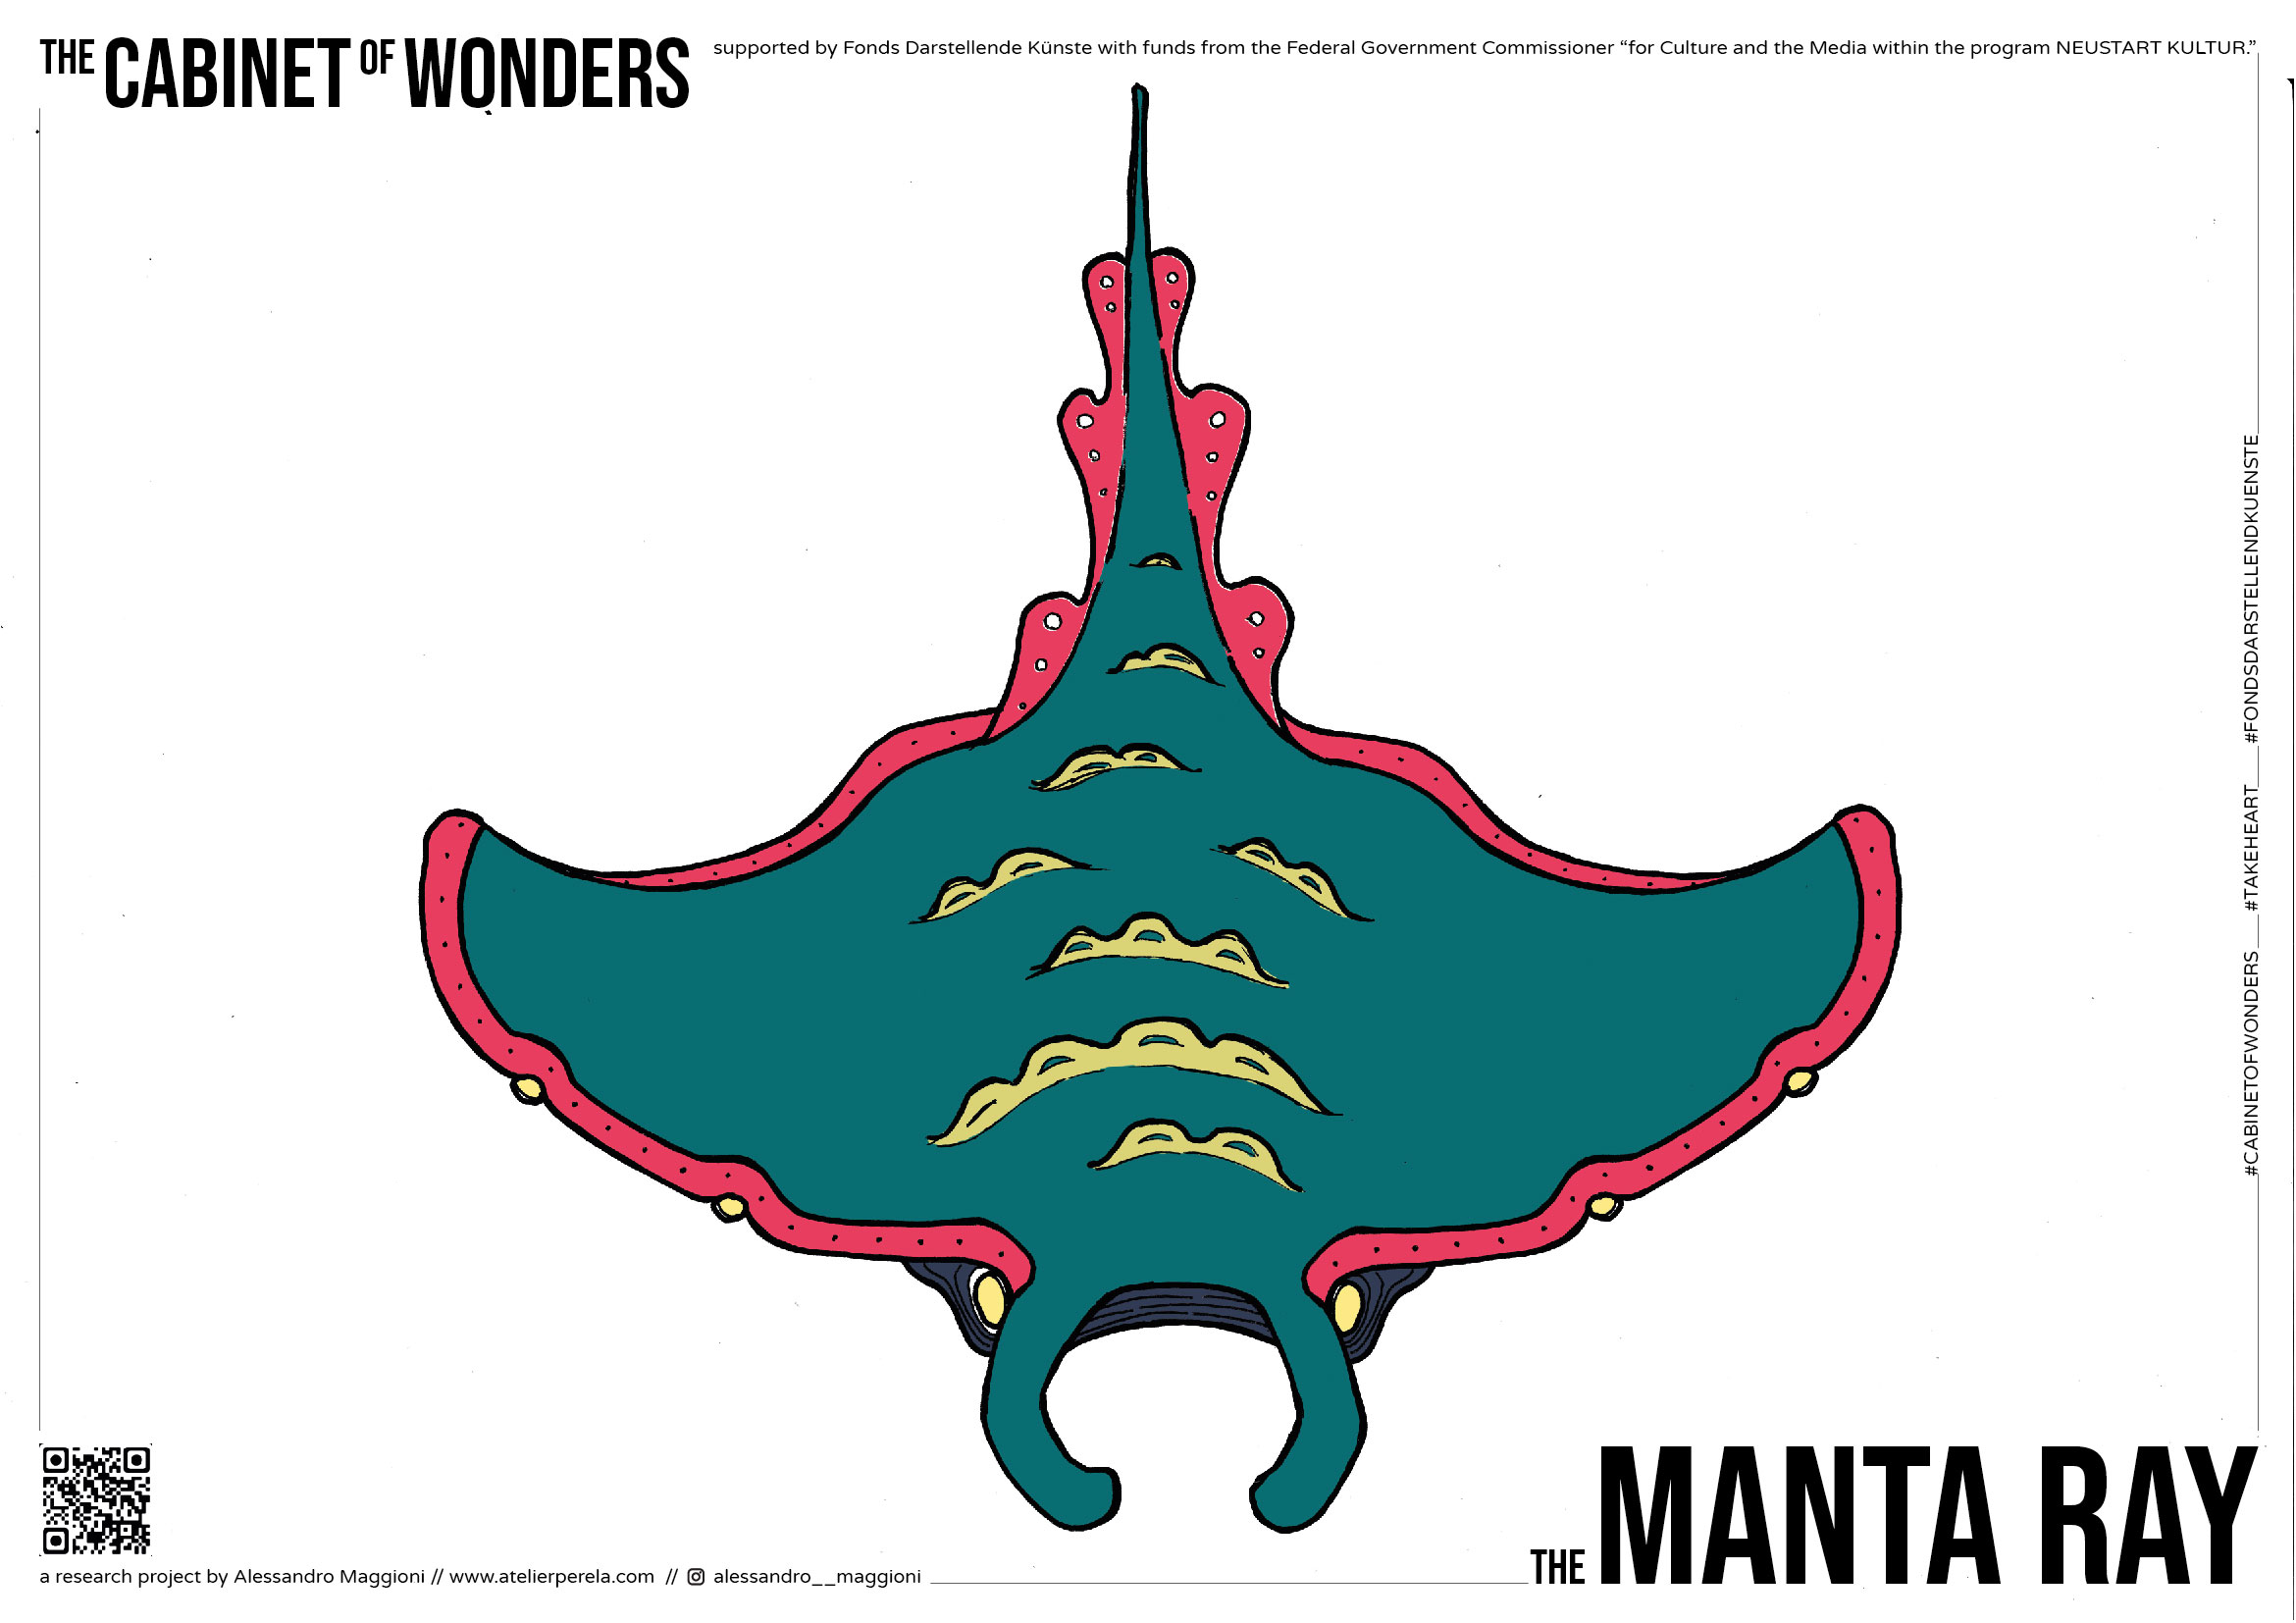
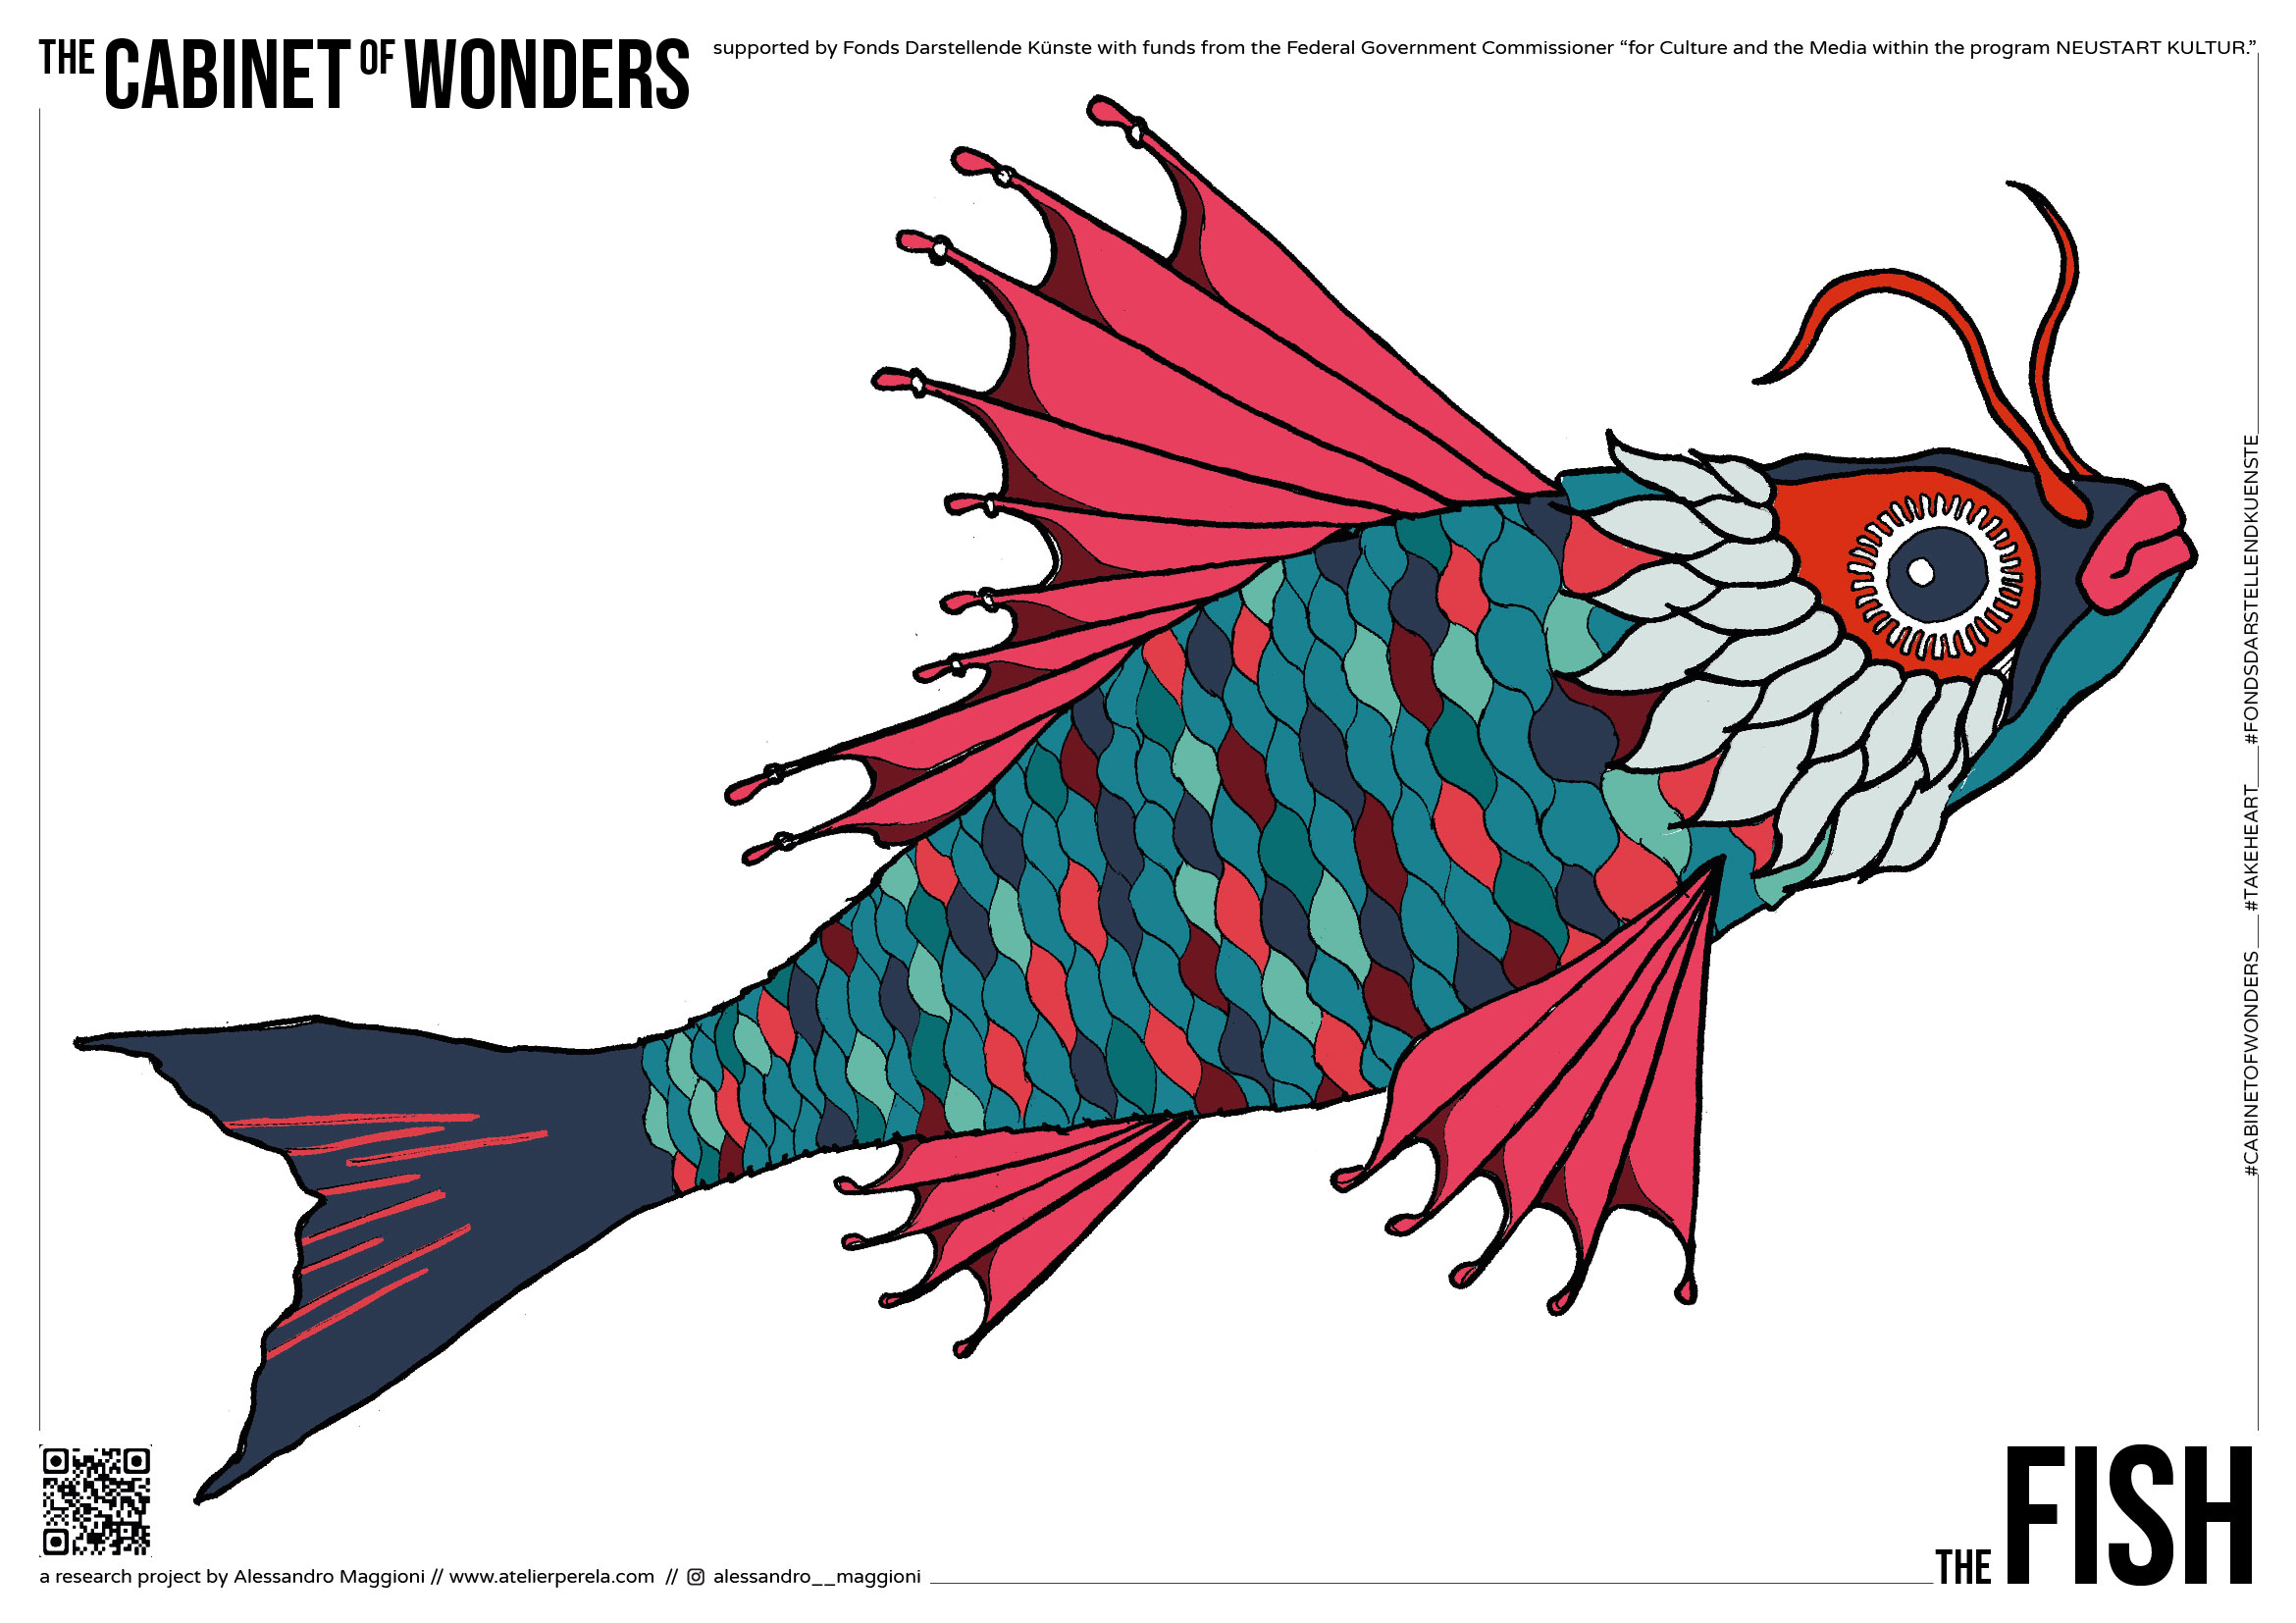
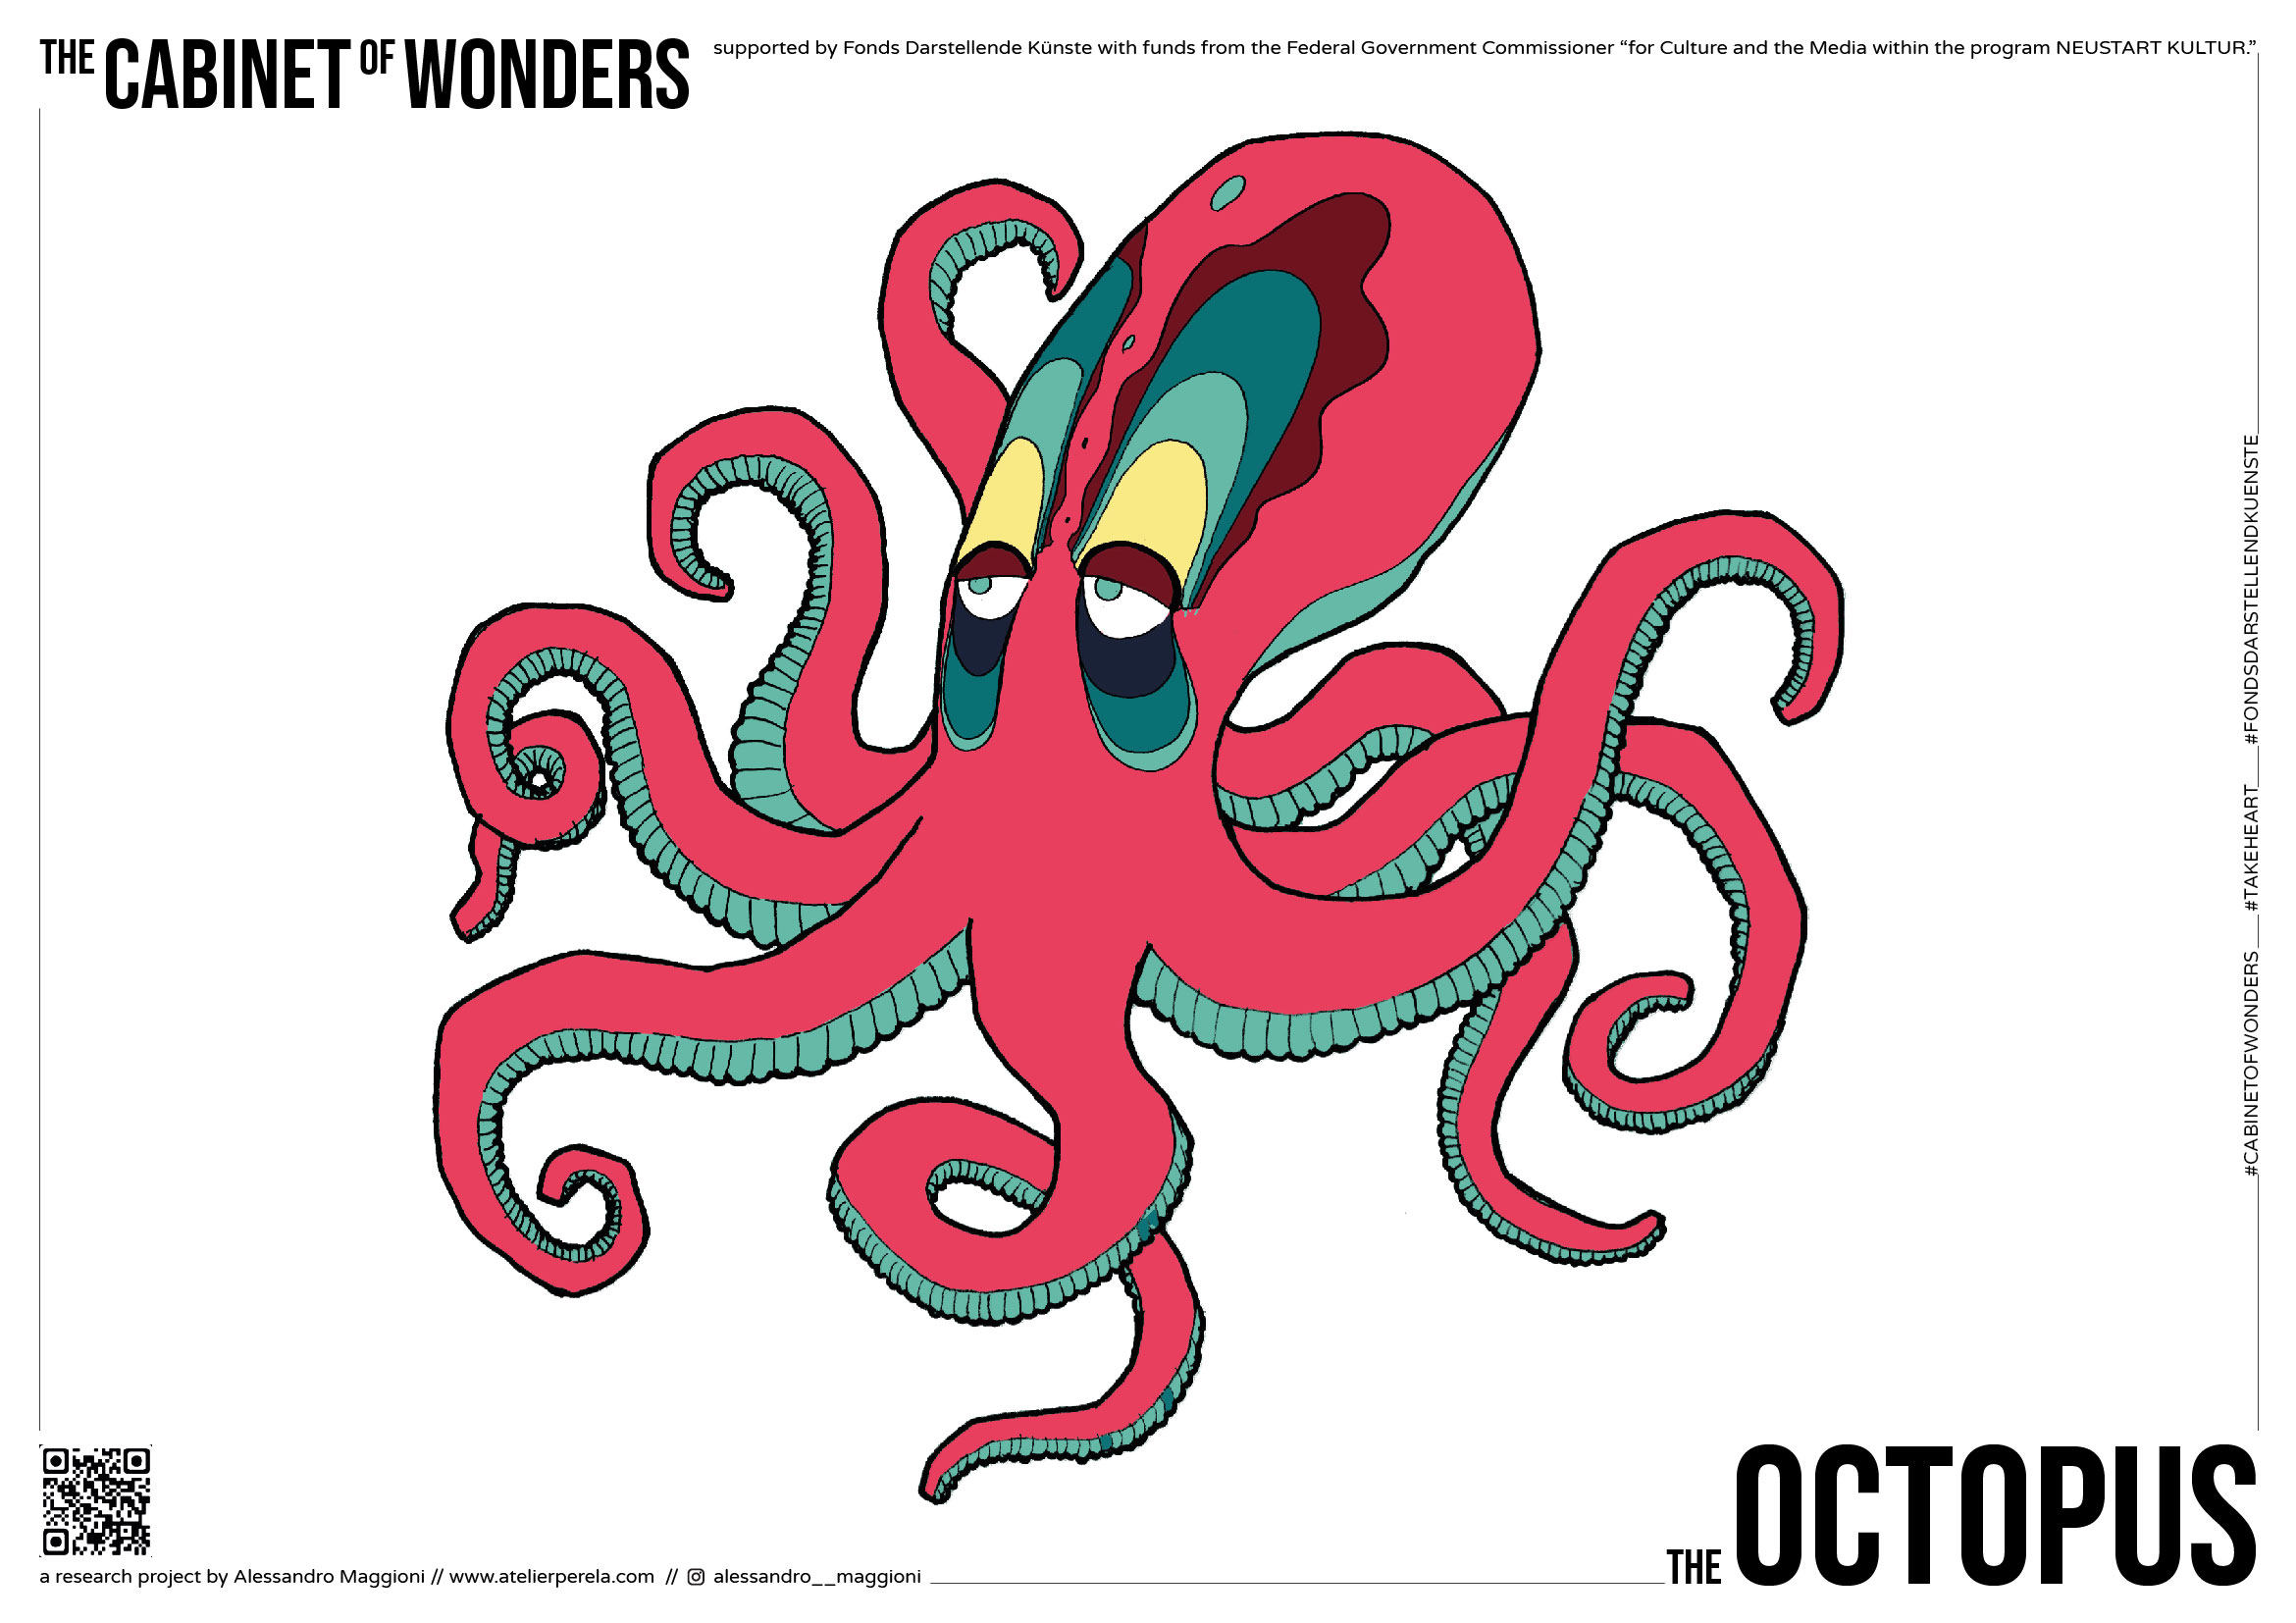
“Cabinet of Wonders” aims to provide children and their families with ideas, resources and tutorials. Inspired by the isolation the pandemic forced us into, this project is a response to the boredom of those days with many playful activities.
Built on the experience of several projects designed for young audiences on stage, in museums and schools, the resources you find here are designed to be realized at home. Some can be performed by the kids, while other require the collaboration of an adult. The templates can be print on any home printer, and the suggested activities mainly involve markers and other stationery in every child’s backpack. Cutting tools and cardboard upcycling allows to turn simple illustrations into real figures.
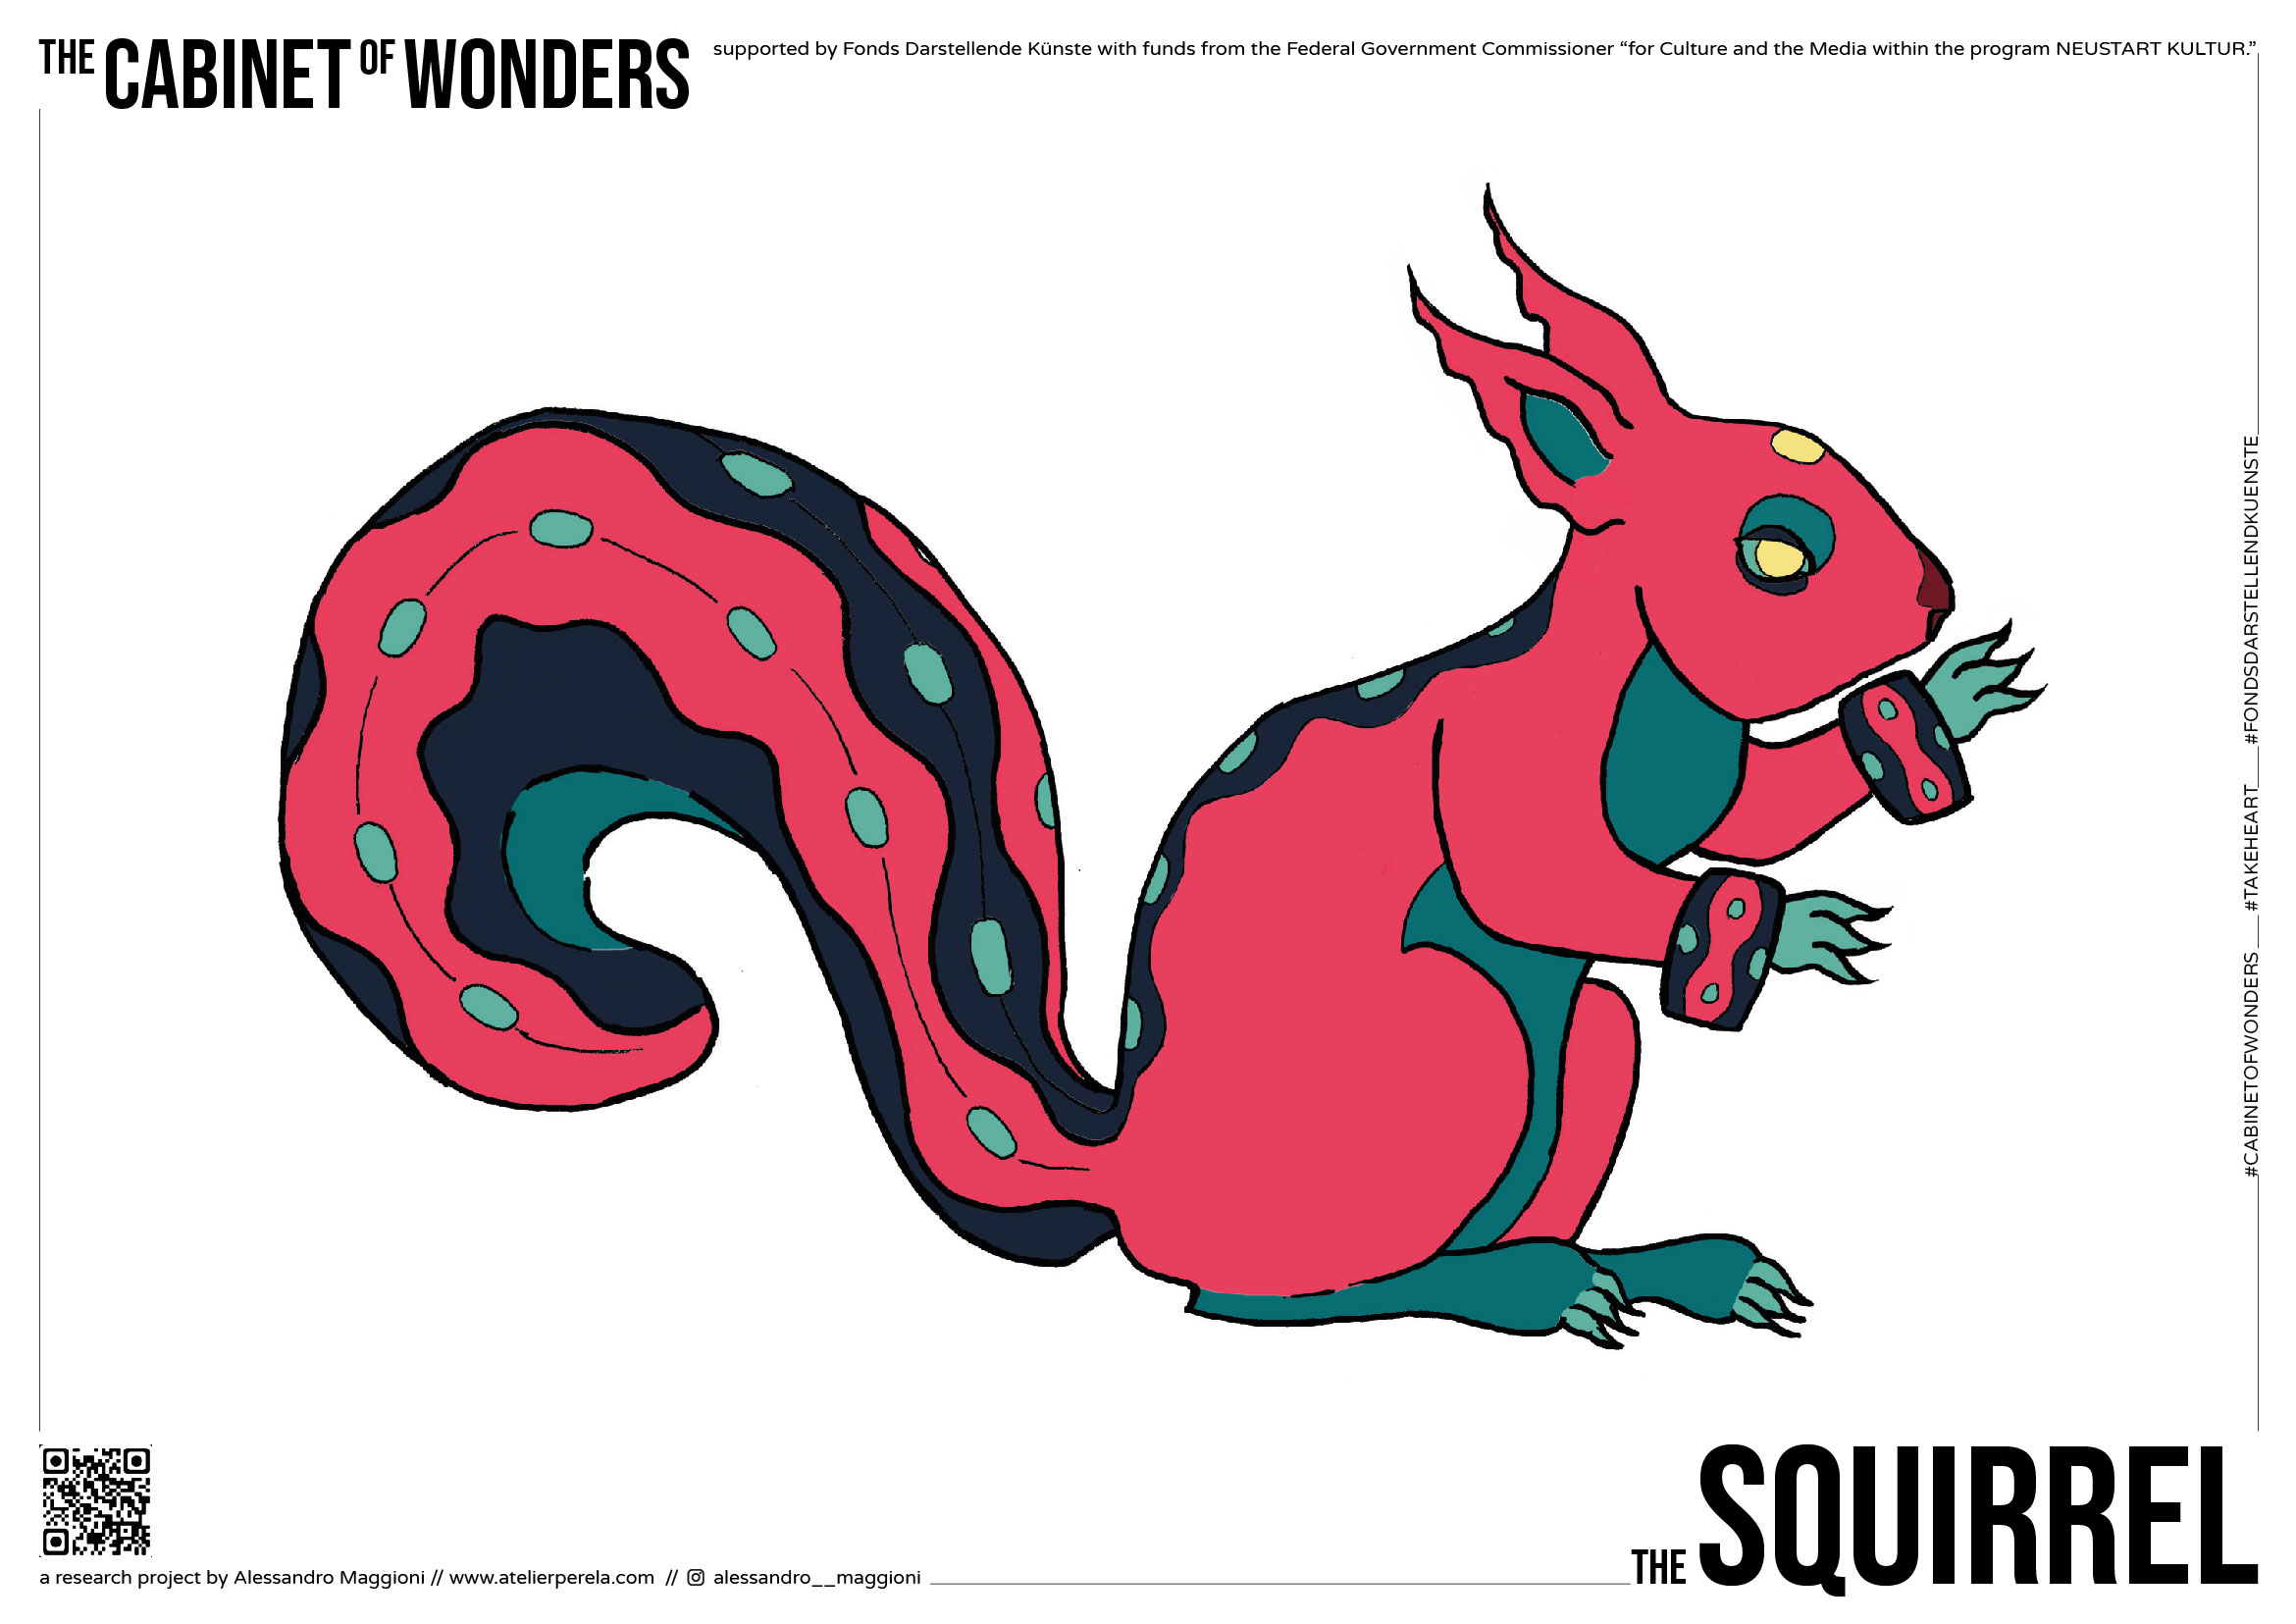
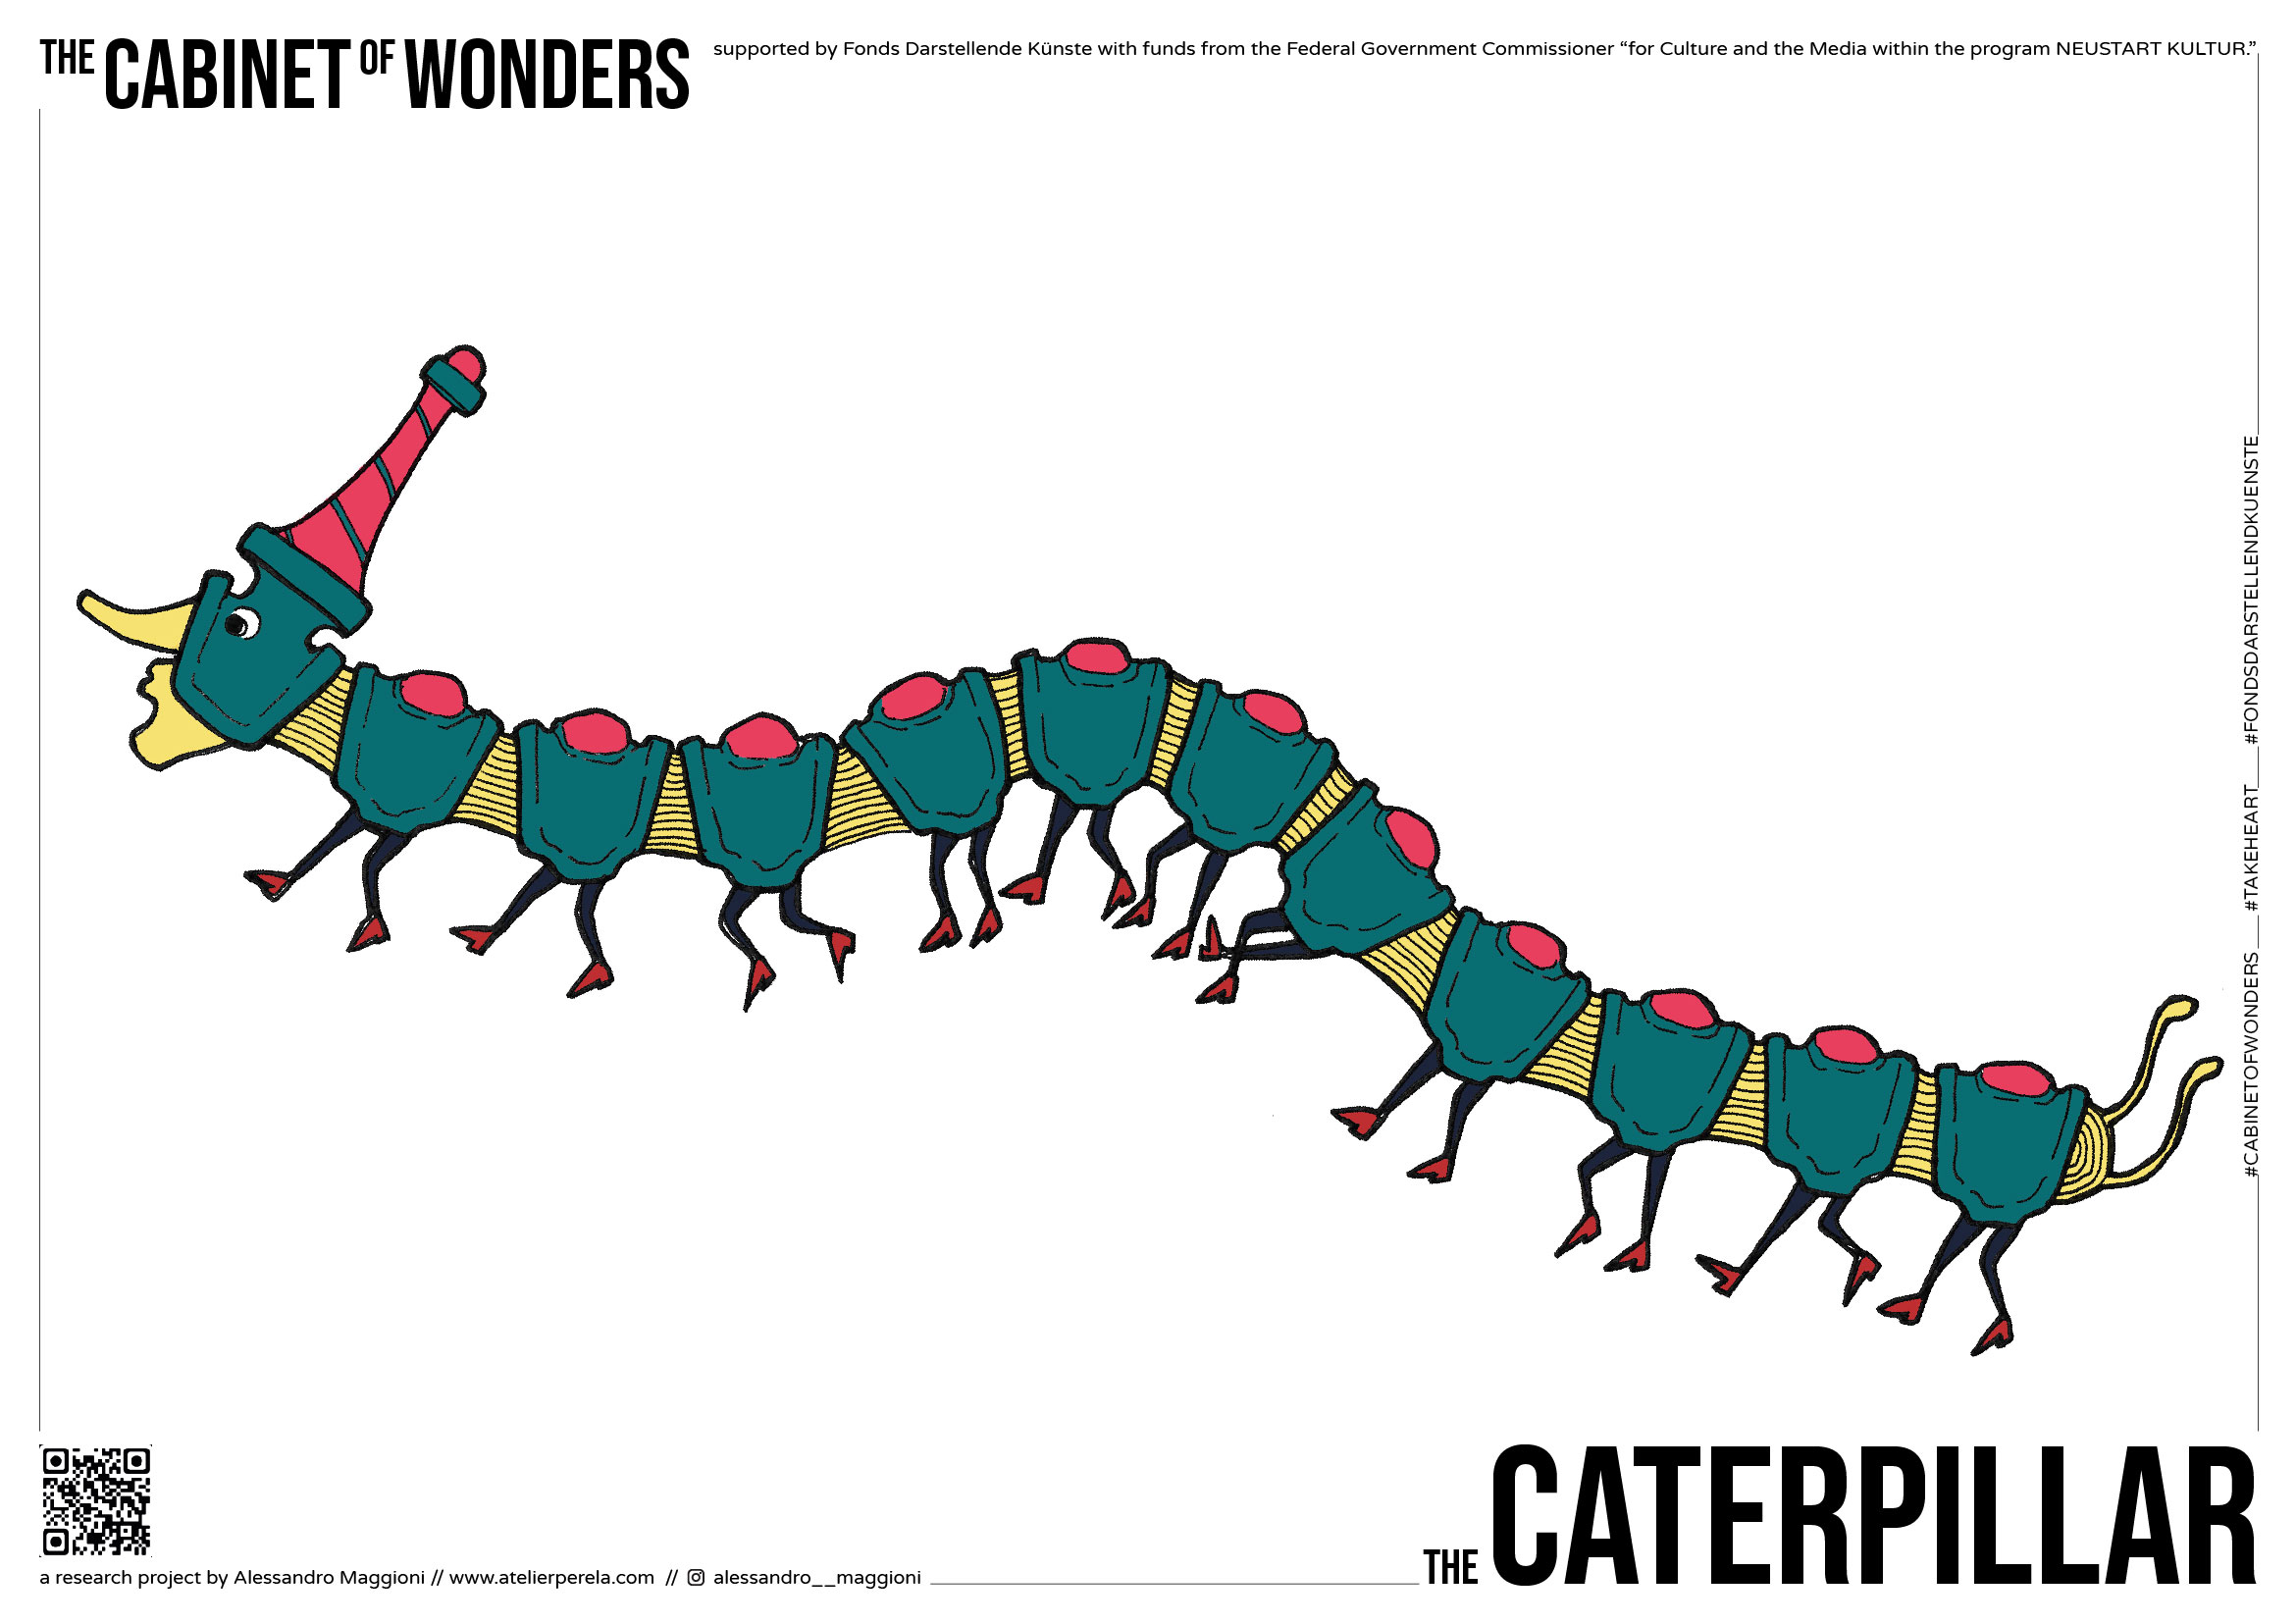
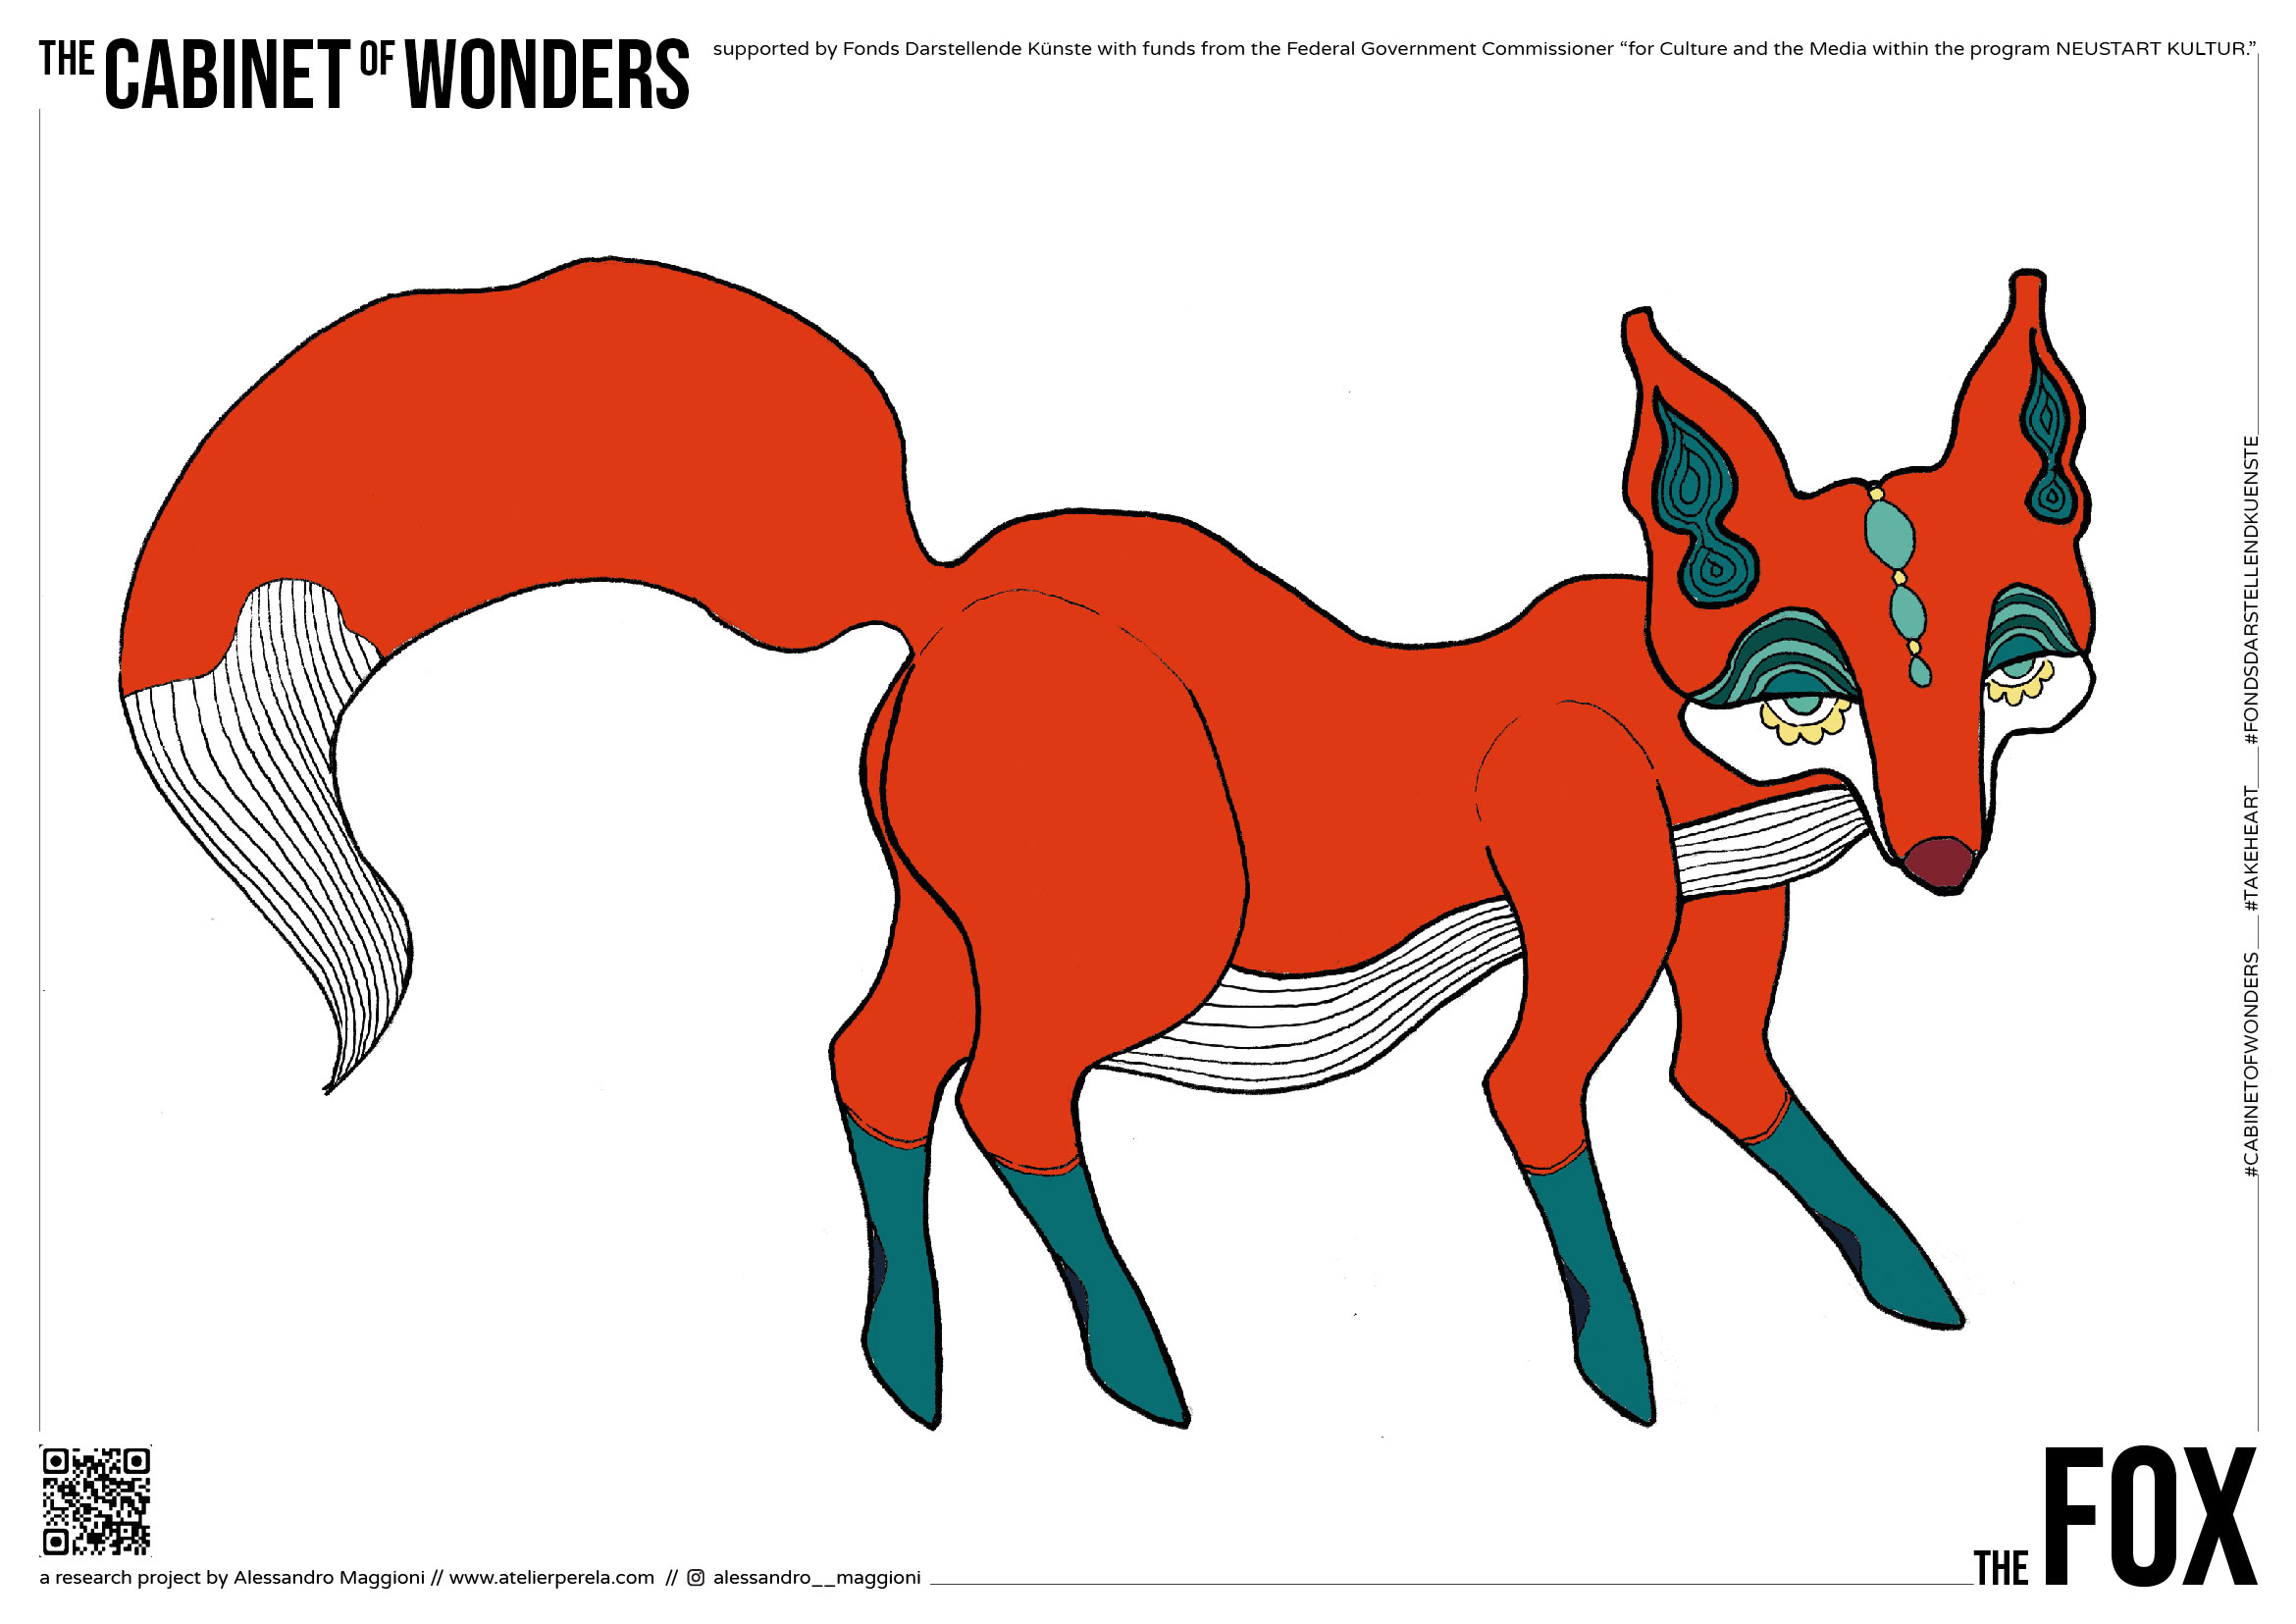
The illustrations of the libraries are meant to provide ready-to-go templates to start your adventures in storytelling. They can be used in different ways, depending on the leanings of your children. The different characters are printed as big as they can fit on an A4 paper. If you want to create a story in the paper theater, feel free to scale down some figures if you want to achieve realism. Or just do the opposite, and let a super sized squirrel chase down some baby horses!
Click on the galleries to read the detailed description below the pictures.
1. CREATE STANDING FIGURES
MATERIALS & TOOLS
- Light Cardboard
- Tape
- Double-sided Tape
- Glue
- Skew
- Cutter
- Printed templates
2. BUILD THE PAPER THEATER
MATERIALS & TOOLS
- Light Cardboard
- Tape
- Double-sided Tape
- Glue
- Skew
- Cutter
- Template
3. CREATE COLOR SHADOWS SILHOUETTES
MATERIALS & TOOLS
- Hard PVC A4 foil
- Adhesive transparent foil
- Paper tape
- Cutter
- Templates
This technique requires some additional manual skills, and it was developed to be used on stage. Use this if you plan to use it with your child, and do not leave the figures unattended.
I’ve been using this technique extensively with the IMAGINAria esemble, and in the link below you can see the result.
Trailer "Sound of stars"
4. RIG PAPER FIGURES FOR STOP MOTION
MATERIALS & TOOLS
- Adhesive pads
- Scissors
- Templates
- Markers
- Handy / Tablet with stop motion app
I have been using stopmotion with paper through several projects. One of the most fun was a collaboration with the Bauhaus Museum Dessau, where we created with a school some funny but stilysh animations.
Shortfilm "Journey to the Bauhaus"
5. CREATE FANTASTIC FIGURES
MATERIALS & TOOLS
- Adhesive pads
- Scissors
- Templates
- Markers
This activity is great to dive into the world of fantasy, and imagine which extraordinary characters live on some parallel dimension, under the earth, on another planet…and everyone can do it! Here you see everything in color, but you can start from first assembling the black and white creatures, and then color them afterwards, so that also the color palette has its own personal touch!

CARDBOARD
We all probably have a lot of cardboard these days in our homes. It’s time to give this precious material a second life, before throwing it in the recycling bin! Thicker, bigger cardboard boxes in our case are very good to build the paper theater, while thinner book parcels work great to glue on top the characters templates, and create the figure for the theater.

A4 PRINTING PAPER
If you plan to gen engaged with the theater paper figures, regular a4 paper should work fine. In case you are working with bigger kids, and you want to try out stop motion animation, I recommend to print the templates on a thicker paper that can hold the color better , and resist when the limbs of the character are constantly moved in the animation process

GLUE
Let’s go with the basics! For nearby all these activities, glue for crafts, tape of any sort can solve the most of our assembly issues. For more advanced activities, like “soft rigging” of our figures, a very helpful tools are the uhu dots, with which is possible to connect pieces of paper, with a good degree of movement and stability at the same time.

POPSICLE STICKS & WOOD SKEWERS
We all probably have a lot of cardboard these days in our homes. It’s time to give this precious material a second life, before throwing it in the recycling bin! Thicker, bigger cardboard boxes in our case are very good to build the paper theater, while thinner book parcels work great to glue on top the characters templates, and create the figure for the theater.

ADHESIVE TRANSPARENT PAPER
If you want to create torchlight projections with colored shapes, the Oracal transparent paper are a great solution, in combination with a thicker pvc layer underneath. You can find a good selection of colours HERE.

RIGID PVC
When this special transparent, but stiff material is combined with the Oracal adhesive sheets, it is possible to create rich coloured silhouettes, that can create beautiful prjections on the wall of your children’s room. This process is not so easy, but with a little bit of time it’s possible to achieve some interesting results.

MARKERS & Co
This tools are the essentials for our activities, and probably the ones that are you already on your kids’ desk. You are free to use also new techniques to color the templates, I am looking forward to see the results!

SCISSORS
Paper cutting is an important part of the activities. Most cutting jobs are doable with scissors made for kids, but feel free to use sharper or tiny ones if you wanna provide extra detail.

CUTTERS
The assembly of the paper theater, and the creation of standing figure require at best the use of cutters. In this case do not give such tools in the hand of a child.

CUTTING MATTE
If you perform cutting jobs with a cutter, always use a cutting matte underneath the template. Cutting matte come in a variety of sizes, and in general is better to have a bigger one than a smaller one, so there is no risk that you end up carving your table.
APP DOWNLOAD
I’ve found out that Stop Motion Studio is a simple free app with which you can start your journey into frame by frame animations. You can find it here:
STOP MOTION CRASH COURSE
Coming soon..
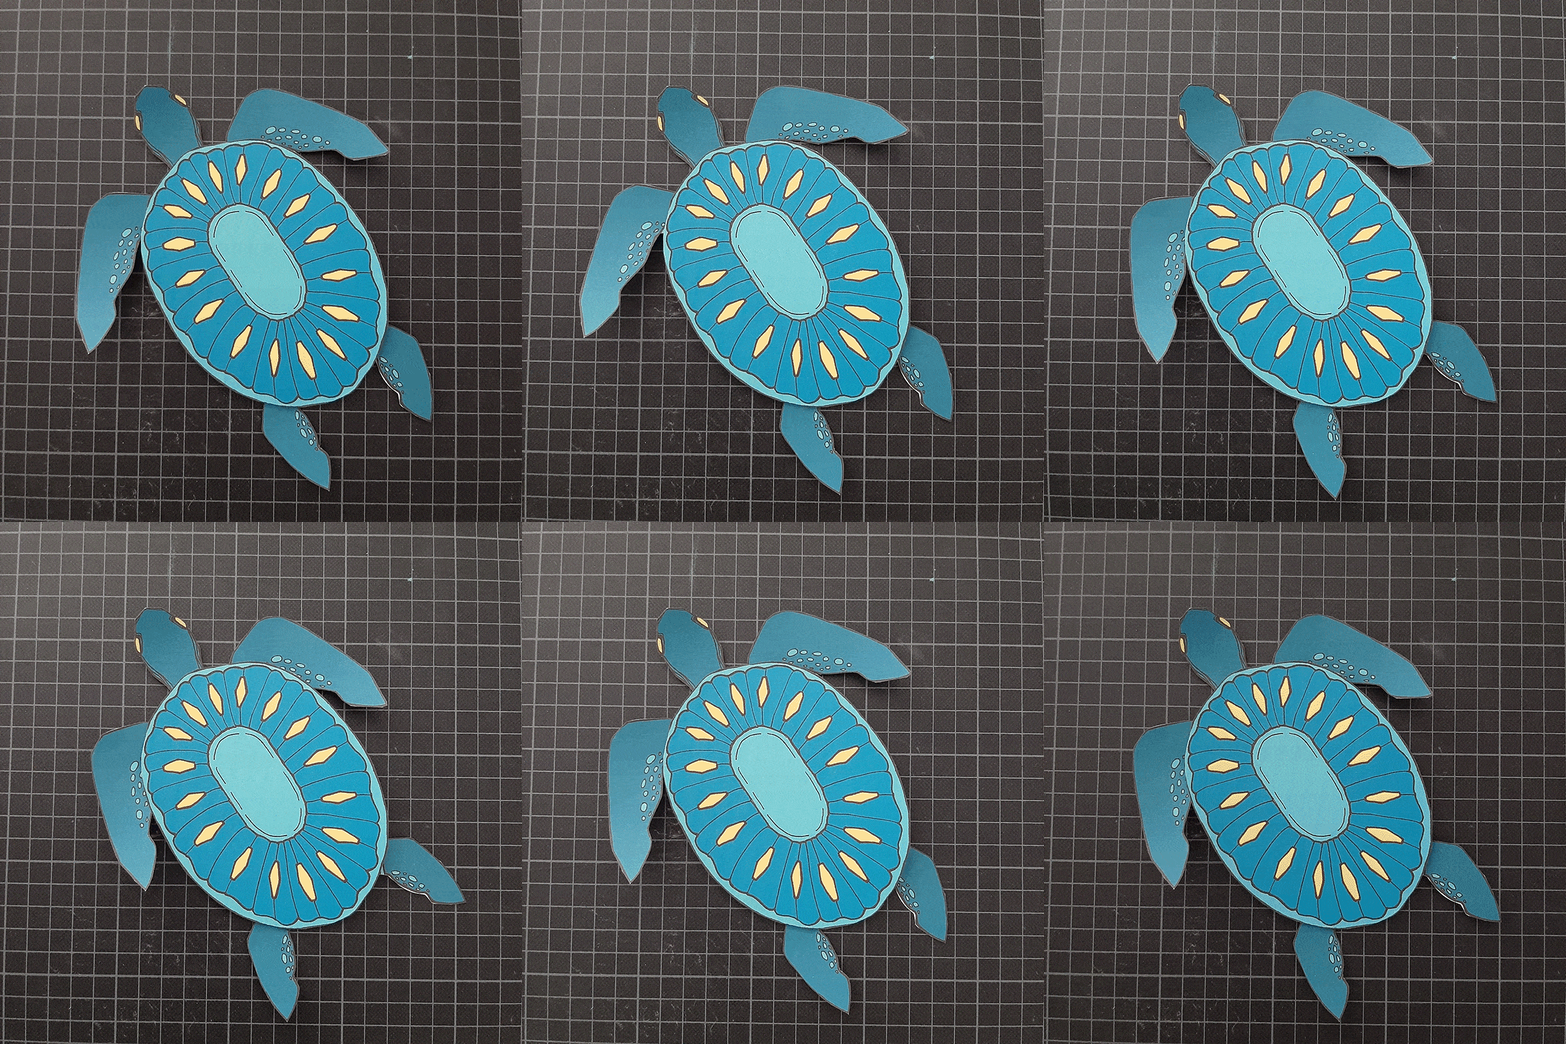
If you want to try the BETA version of the interactive paper theater, follow the link below, and place for a while your left hand in front of your face…something will appear. Move your index finger and thumb closer together and farther apart. What do you see?
This part is actually in development – come back soon if it doesn’t work


